The ASUS Maximus VIII Extreme Review: The Other $500 Option
by Ian Cutress on April 7, 2016 9:00 AM EST- Posted in
- Motherboards
- Gaming
- Asus
- ROG
- Skylake
- Z170
- Thunderbolt 3
ASUS Maximus VIII Extreme BIOS
A large portion of this page will be identical to the Maximus VIII Impact review, updated for specific M8E features.
For users well accustomed to BIOS layout, it makes sense when a company uses the same basic libraries throughout their product stack. It makes sense for time and development, and there can be some leeway in customization for different types of products. So this is what I mean when I say that users who are familiar with ASUS’ main line of motherboards (the -Pro, the -A, the –Deluxe and other) will also understand what goes on with ROG. There are differences, and the first two to notice are the color scheme moving red but also that the BIOS enters straight into advanced mode, bypassing EZ mode.
But let us step back a bit, and move to EZ mode. For users who want to deal only in EZ mode, there is a setting which forces it as the default BIOS entry point.
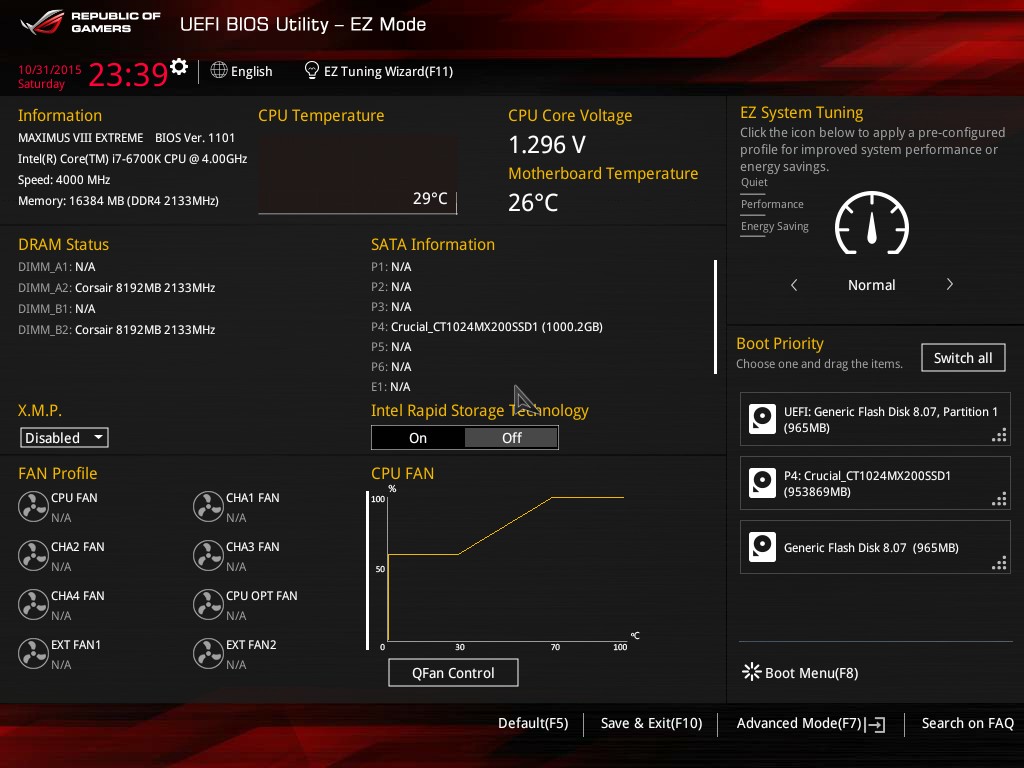
Similar to other EZ modes we have seen from ASUS, this one gives details on the motherboard name, the BIOS version, the CPU installed, the speed of the CPU, the amount of memory installed, a graph of CPU temperature over time (useful if you’ve forgot to plug in the CPU fan… oops), the CPU voltage, the motherboard chipset temperature the speed the memory is running at, a per-DRAM slot label of what memory is installed, a per-SATA port label of what drives are installed, a quick button for XMP, a quick button for RST, a per-fan rundown of fan speeds, a diagram of the fan power control for the CPU fan, a quick button to customize the fan profiles, an EZ system tuning list for quick updating, and a boot priority list. Pretty much 90% of what you want a motherboard for, especially if you are the family computer guy fixing it.
Pressing F11 brings up the EZ Tuning Wizard to help users get some basic overclocking and RAID controls.
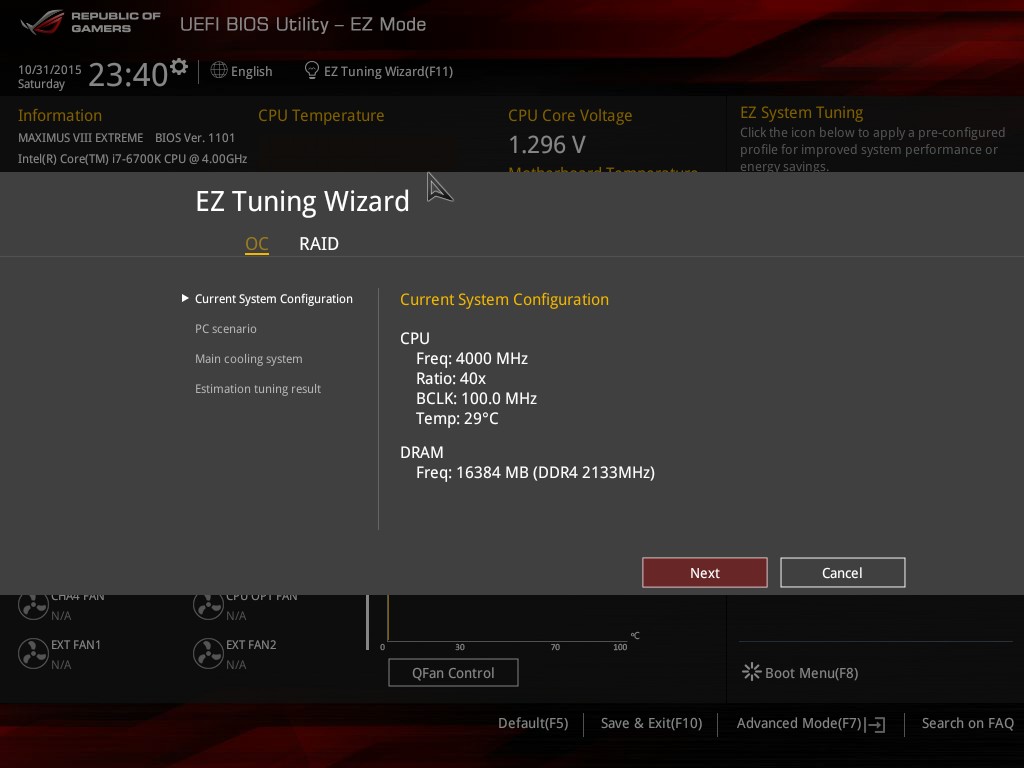
The EZ Wizard asks a couple of questions, such as what the system is used for (gaming or daily tasks/media consumption), what cooling is installed (stock cooler, tower cooler, liquid cooling, unknown), and then uses a lookup table and attempts to apply a sufficient overclock. It beats many ‘set it and see’ overclocking tools on other motherboards purely on user experience, even if results are similar.

Here for example I chose Daily Computing with a Stock Cooler, and it offered a 12% overclock for the i7-6700K (moving from 4.0 GHz to 4.5 GHz) and no change in the DRAM (DDR4-2133), then asked to enable it.
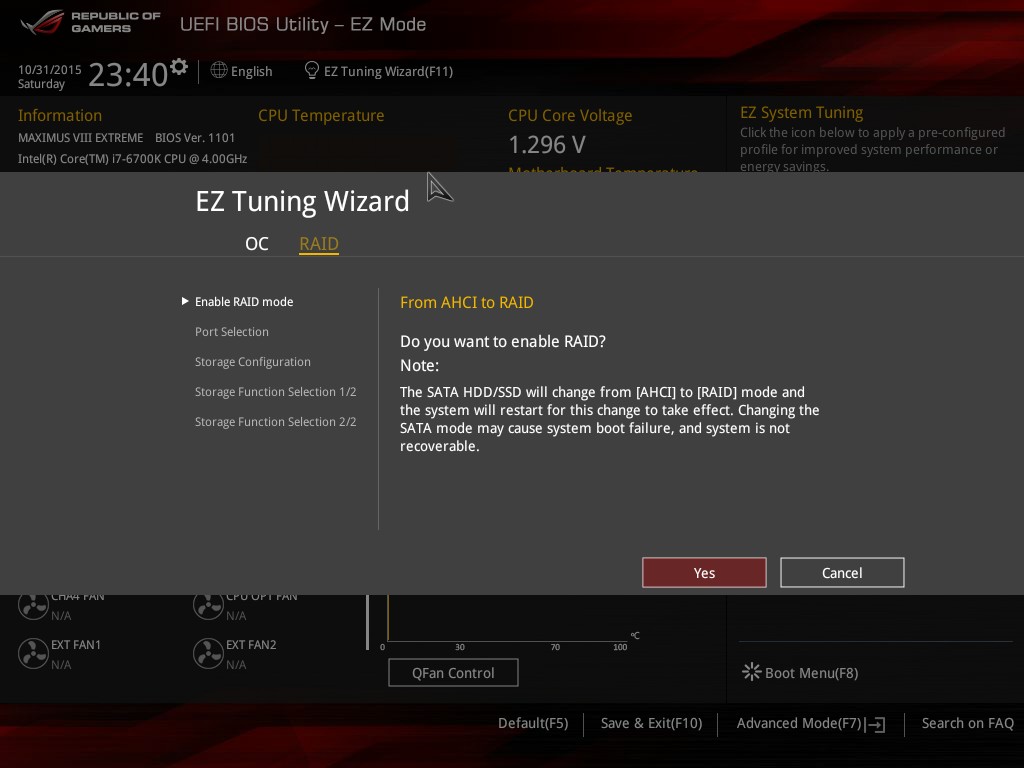
For the EZ RAID option, this makes the task of implementing RST on Intel configured RAID ports easier by providing a step-by-step guide.
Also on the EZ Mode page we have access to quick fan controls under Q-Fan:

The system will allow each fan to be configured either by PWM or DC controls where possible, and offers four presets (standard, silent, turbo, full speed) as well as manual control of a multi-point fan gradient. On the left hand side is the ‘Optimize All’ option, which provides per-fan tuning.
Moving back into Advanced Mode, and similar to previous motherboards ASUS is offering a My Favorites menu to allow users who have specific settings they want to tweak (typically overclockers), then options can be added here. For the Z170 platform, ASUS is now pre-filling the My Favorites menu with a number of options they feel are best suited for overclocking, such as core ratios, base frequency, DRAM multiplier, voltages and power options.

For the main glut of overclocking options though, the Extreme Tweaker menu has them all.
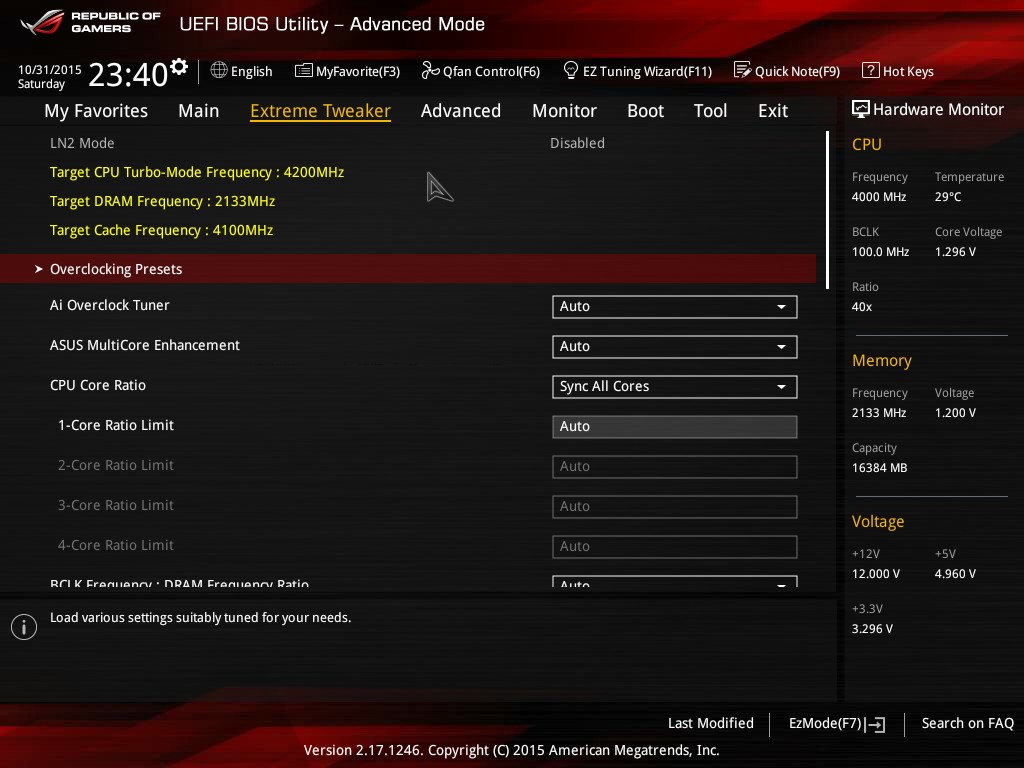
A wider range of CPU overclocking options are exposed on this first set of screens, with additional menu options for DRAM, power management and ‘extreme tweaking’. For users with the LN2 header enabled, more obscure options are also offered. However, the first option at the top is relatively interesting as a set of overclocking presets:
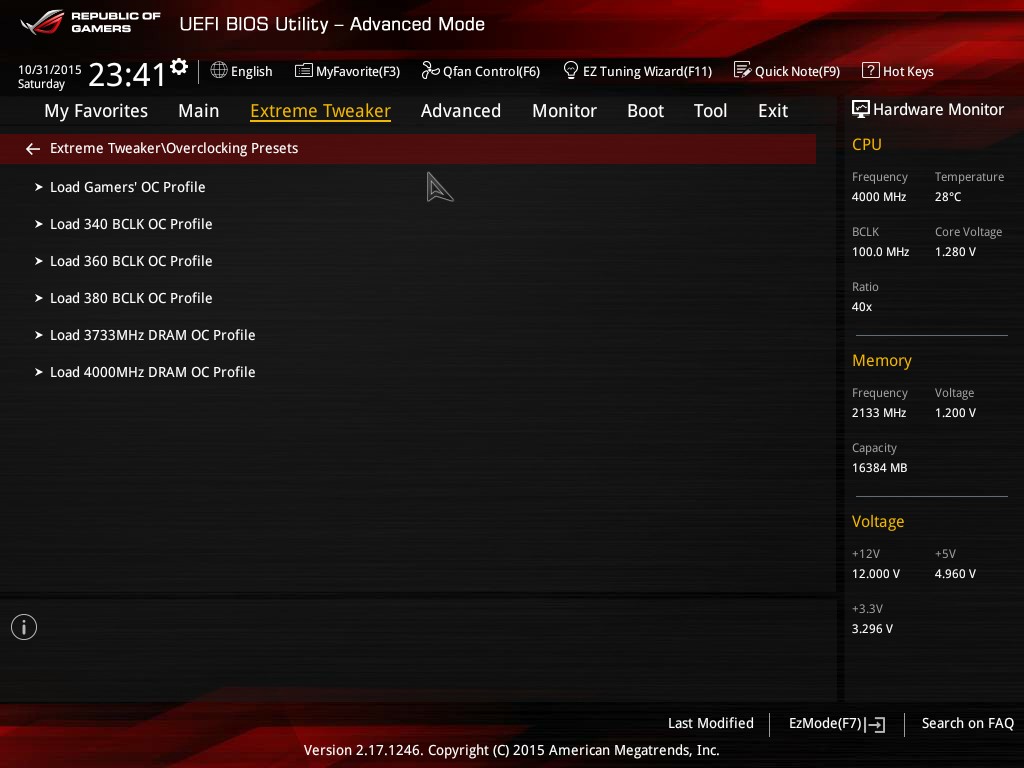
The majority of these are for extreme overclockers, but the Gamers’ OC profile is one we have tested in the OC section (along with the TPU options). The Gamers’ OC gives a 48/47/46/45 multiplier overclock with 1.425 volts set in the BIOS with LLC at Level 7. On our test bed with our #2 CPU, this passed our tests.
Similarly in the DRAM section, we also get a list of presets for extreme overclocking:

Most of these require knowledge into the memory you have, and are typically used by those close to ASUS’ in-house overclocking team.
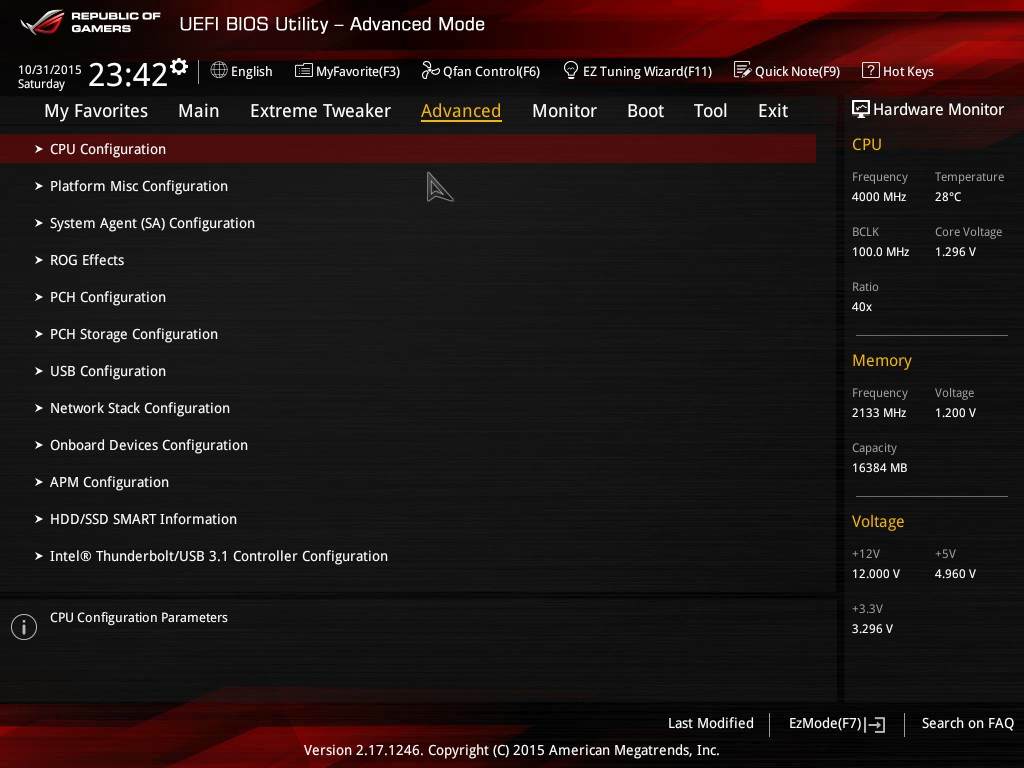
Moving away from overclocking, and the Advanced menu holds most of the typical motherboard options for enabling/disabling controllers, organizing storage controls, C-states and USB configuration. I think the best bit about this is the SMART information screen.

Similar to OS tools to read SMART data, here we get information about power-on hours, power cycles and drive temperature. This sort of information tool is slowly moving into BIOSes of all the manufacturers, which is a good thing to see.
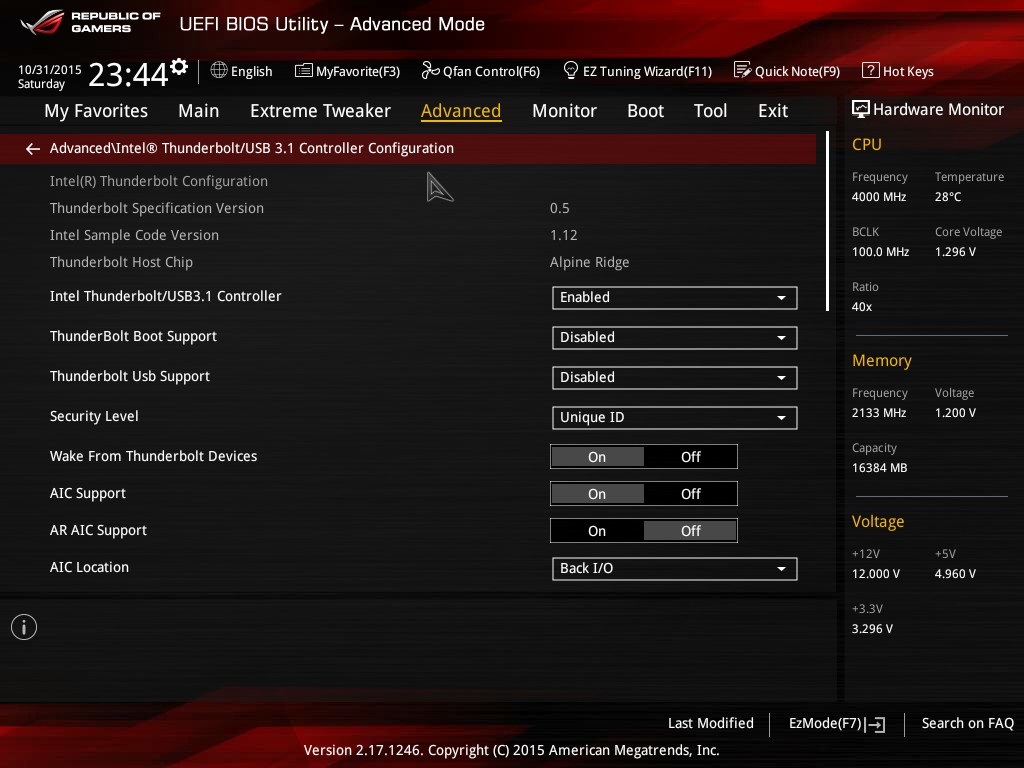
A menu for the Thunderbolt controller is also here, including Boot and Wake support.
Next up in the BIOS is the monitoring tools, which also doubles as the place for manual fan controls without the graph.
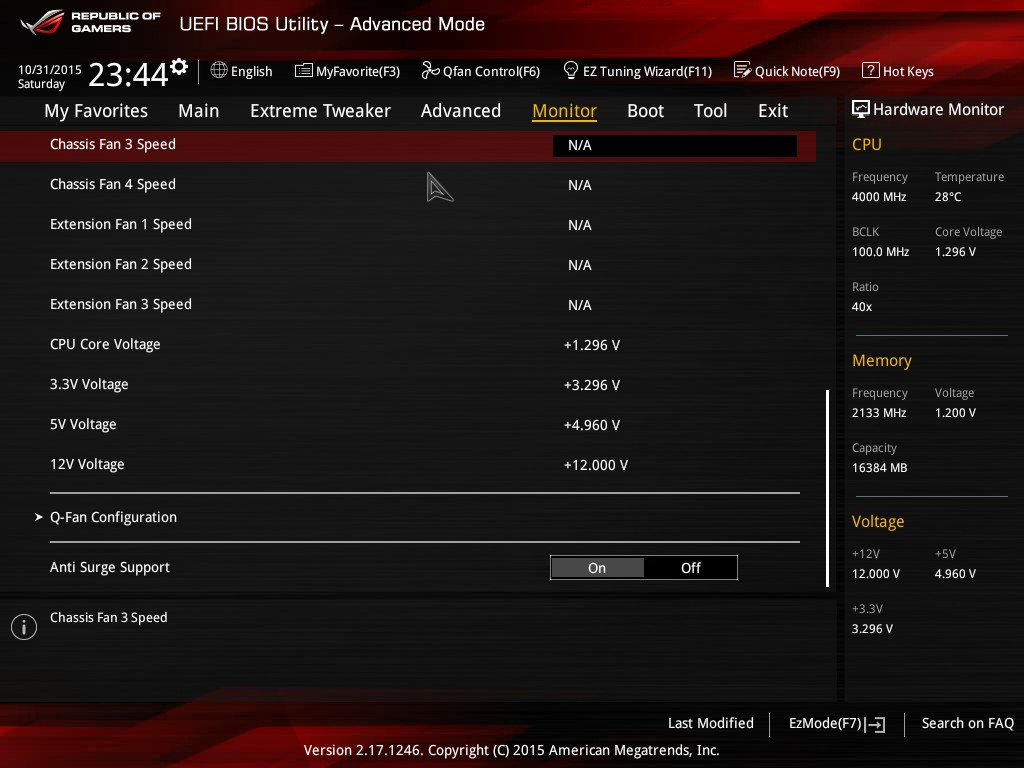
As the Impact has several additional temperature sensor headers onboard for additional thermistors, these can be added and configures here as well.

The Q-Fan control in text looks similar to other fan control software, and allows for separate fan header adjustment in DC or PWM mode.
Boot override and CSM controls are found in the Boot Menu, which also has the option for Above 4G Decoding if anyone wants to pair the motherboard with a MIC.

The last set of features for the BIOS are in the Tool menu.
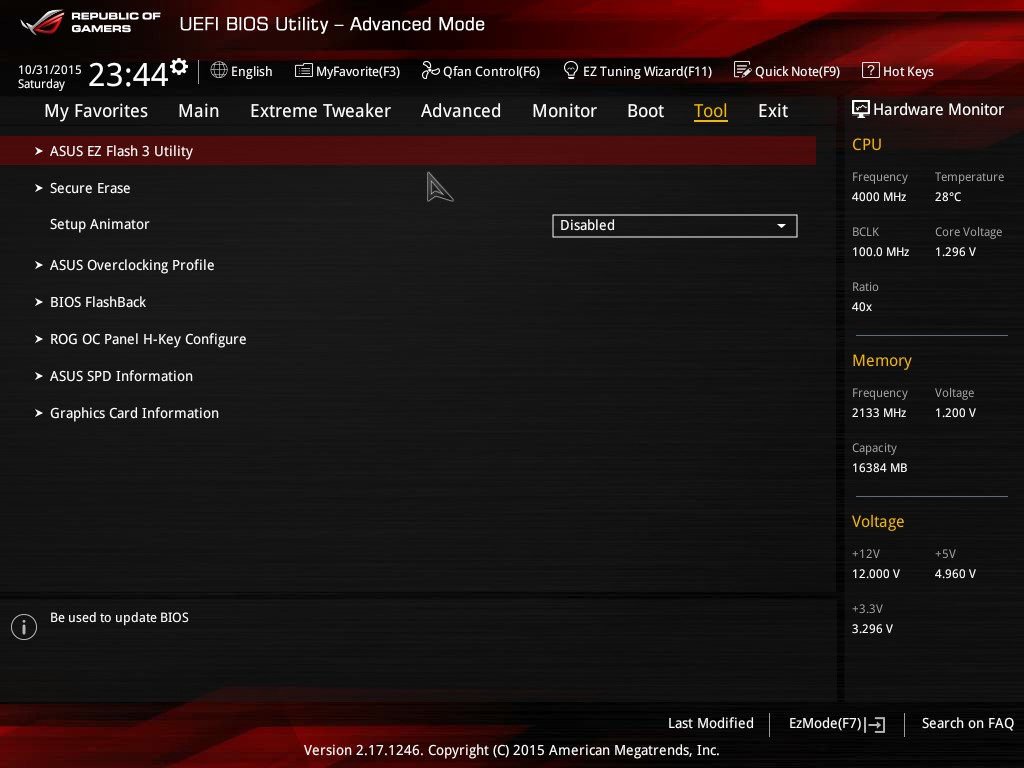
ASUS has updated its EZ Flash tool to generation 3, allowing it to also probe an online server for an updated BIOS version, which is similar to what ASRock does. Secure Erase still features in the ROG BIOSes, as well as overclocking profiles, SPD information and GPU information. The thing missing from ASUS’ repertoire is a Board Explorer mode, similar to what ASRock and MSI have, which shows a diagram of the motherboard and what is installed in each port. As a method of showing if certain DRAM modules are not detected, or SATA drives not found, it provides a good user experience for most users (though one could argue that the various lists around the BIOS already do this, though they are not currently in one place).


70 Comments
View All Comments
romrunning - Thursday, April 7, 2016 - link
Yes - Thunderbolt3Jon Tseng - Thursday, April 7, 2016 - link
Do these sort of mobos have particularly high end audio integrated? I could see an argument for paying more if you e.g. replaced a $100+ high end audio card.Ditto I guess for the wifi, given a lot of mobos don't seem to have this build in (something I never quite understood why).
arayoflight - Thursday, April 7, 2016 - link
The Z170 deluxe has the same 3x3 MiMo WiFi ac built in and costs much less. I don't think there are 3x3 MiMo cards you can buy. The best I could find was the 2x2 intel one for around 70$.Don't know about sound quality, but it should be good.
extide - Thursday, April 7, 2016 - link
You could read the review, but yes, they have pretty good onboard audio.saratoga4 - Thursday, April 7, 2016 - link
I really wish Anandtech would test the headphone out with maybe 32 ohm headphones rather than just the line out. I'd gladly pay extra for a board with good headphone out, but right now it is almost impossible to know which manufacturers are skimping and which are providing a quality output.DominionSeraph - Friday, April 8, 2016 - link
You can get an Audigy FX for $28. $25 from AmazonWarehouseDeals. (price goes up and down a tad -- I got mine for $22)The ALC898 it uses is no slouch.
extide - Friday, April 8, 2016 - link
That would be a downgrade.jptech7 - Friday, April 8, 2016 - link
For someone wanting better headphone out performance than a high end motherboard, I would not recommend an Audigy FX. The ALC 898 is a downgrade from either the Sabre in this Asus or the ALC1150 found on most good mobos, and for that price, I doubt its ability to drive high end headphones.The included Sabre chip on this Asus board is a quality component, but there are still likely some limitations to integrated audio solutions. For the few people desiring greater performance on their headphone out line, a USB or TOSLINK based dedicated headphone DAC & amp can be had. Decent ones start around $100 and scale up from there.
I would expect the only reason to buy additional equipment in this case would be if you need to provide greater than 2V RMS that the Sabre line driver can provide which is already quite decent.
DominionSeraph - Friday, April 8, 2016 - link
He didn't say he wanted more than a $500 motherboard, he said he wanted to know the performance. I pointed out that the performance is pretty meaningless since the Audigy FX exists. Why would you spend $500 on a motherboard when you can grab a $120 one and throw a $25 card in there that will not only be an upgrade over the ALC892 (or worse) that it will have, but has a headphone driver as well.There will be no discernible difference between an ALC898 and a 1150.
Murloc - Thursday, April 7, 2016 - link
if you care about audio you're exiting it on hdmi anyway, so it'd be a waste of money.