The ASRock Fatal1ty X299 Professional Gaming i9 Motherboard Review
by Joe Shields on September 26, 2017 8:00 AM EST- Posted in
- Motherboards
- Gaming
- Intel
- ASRock
- SLI
- Fatal1ty
- CrossFire
- X299
- Skylake-X
- Kaby Lake-X
ASRock X299 Gaming i9 BIOS
The ASRock UEFI BIOS for X299 is similar to past iterations in look and overall feel. By default, due to the 'professional' nature of this board, users are greeted by the 'Advanced Mode', which allows more options and flexibility than Easy Mode. Pressing F6 toggles between the modes.
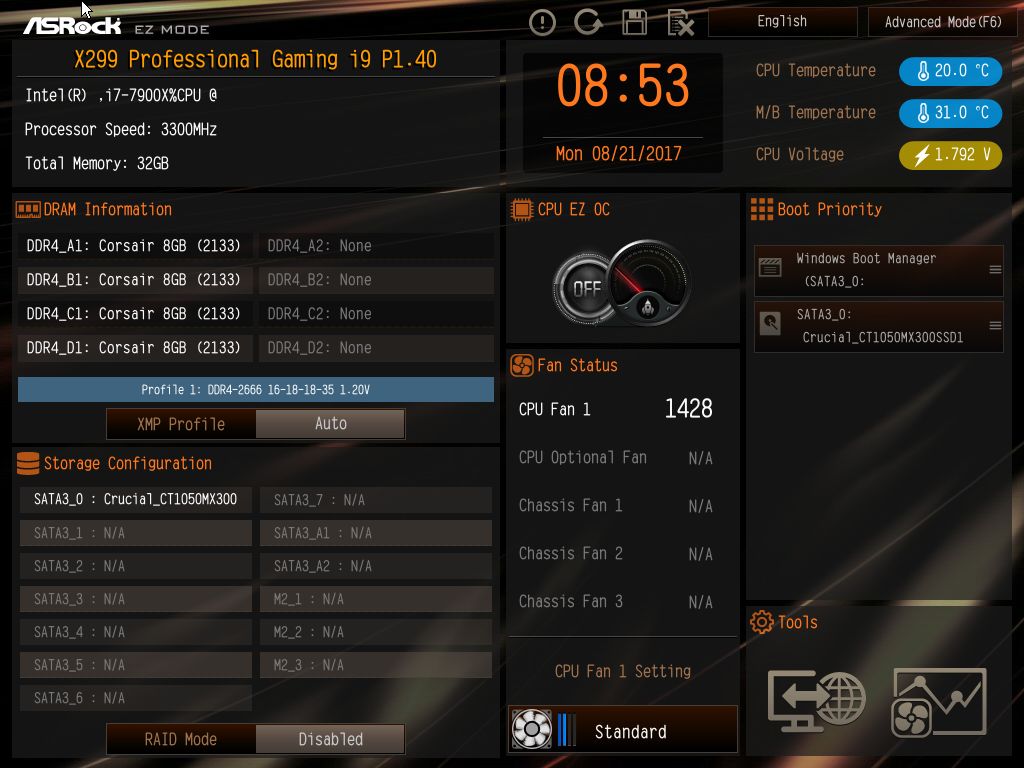
In Easy mode, the screen shares high-level information including the type of CPU installed, DRAM information, storage configuration, fan status, temperatures of the CPU, motherboard, and CPU voltage (it reads input voltage), boot priority, BIOS flashing, and FAN-Tastic Tuning.
While editing more advanced features are saved for advanced mode, some items are configurable here. For example, XMP profiles can be enabled, and configuring a RAID mode can be changed with a click of a button on-screen. There are tools for flashing the BIOS, changing pre-configured fan profiles, and changing the boot priority are all editable functions in Easy Mode. Any other adjustments will have to be made in Advanced Mode.
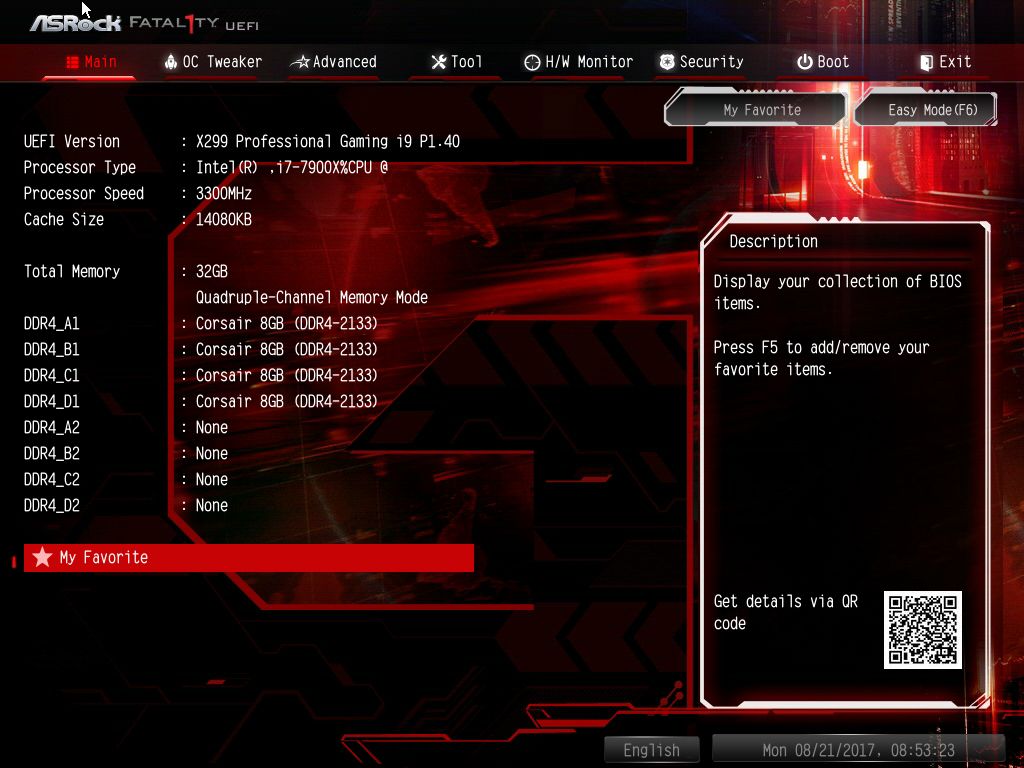
Jumping into advanced mode provides a way to see and edit a lot more items from the BIOS. The Fatal1ty themed UEFI is mostly black and red with the text in white. Across the top is a menu consisting of several sections: Main, Overclock Tweaker, Advanced, Tool, H/W Monitor, Security, Boot, and Exit. The default landing page is the Main screen. Not terribly informative, but it shows the UEFI version, processor statistics, as well as the populated memory slots. From this screen we are able to access My Favorites, which can be populated with the UEFI options of choice by pressing F5.
The OC Tweaker section is where overclocking options for the CPU, DRAM, Voltage, and FIVR are found. The CPU Configuration section shows options for adjusting the CPU Ratio, BCLK, Mesh, and a slew of other CPU related options which will remain unused for most users. In the DRAM section the user can enable XMP, change the memory multiplier, and have access to adjust the four major timings, as well as dozens of secondary and tertiary timings. The Voltage Configuration selection is where major voltage options such as CPU Input Voltage (input voltage for the IVR), CPU Load-Line Calibration, System Agent and I/O voltage for the memory controller, and voltage for each pair of DRAM channels can be edited. Last, the FIVR configuration gives control over the main voltage heading into the processor (which then separates it into lower voltages for each clock domain). Items like the Vcore voltage mode, CPU Mesh voltage, and other offsets are found here.
If one touch overclocking is your thing, ASRock offers this with the Load Optimzed CPU OC Setting. For the 7900X installed there are options for Turbo 4.2 GHz, 4.4 GHz, 4.6 Ghz, and 4.8 GHz. In a nutshell it takes all cores and overclocks them at the same speed, bypassing normal turbo functions. It did use slightly more voltage than needed when compared to manual overclocking at the 4.4 GHz setting, but otherwise it was stable and worked fine.

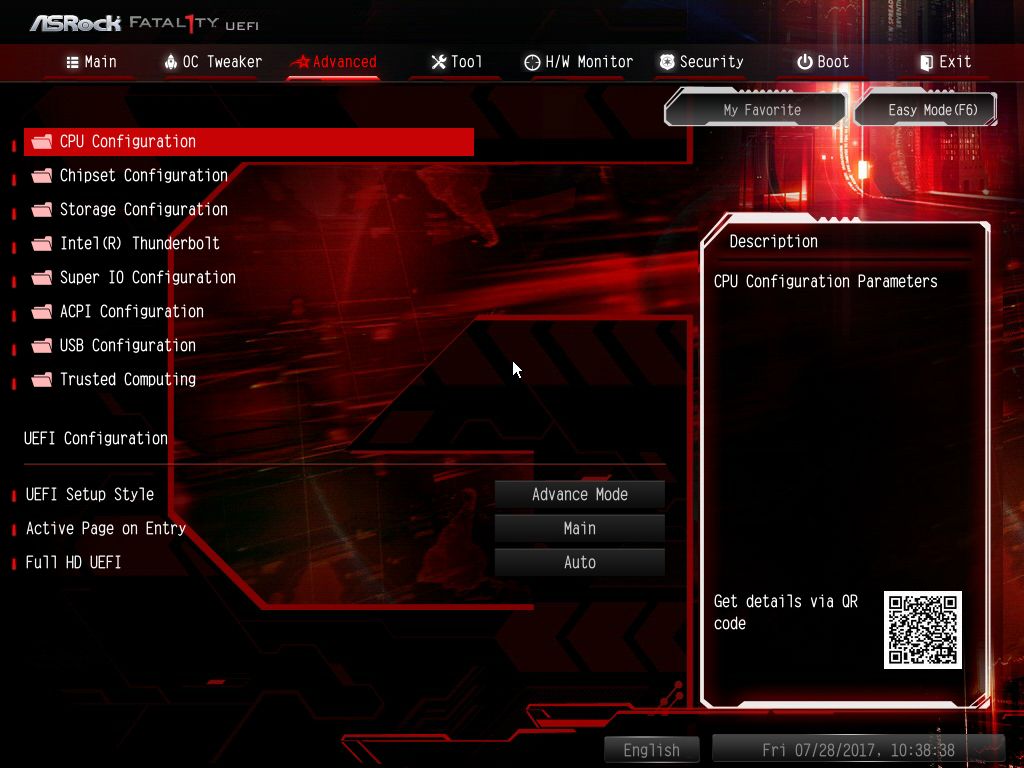
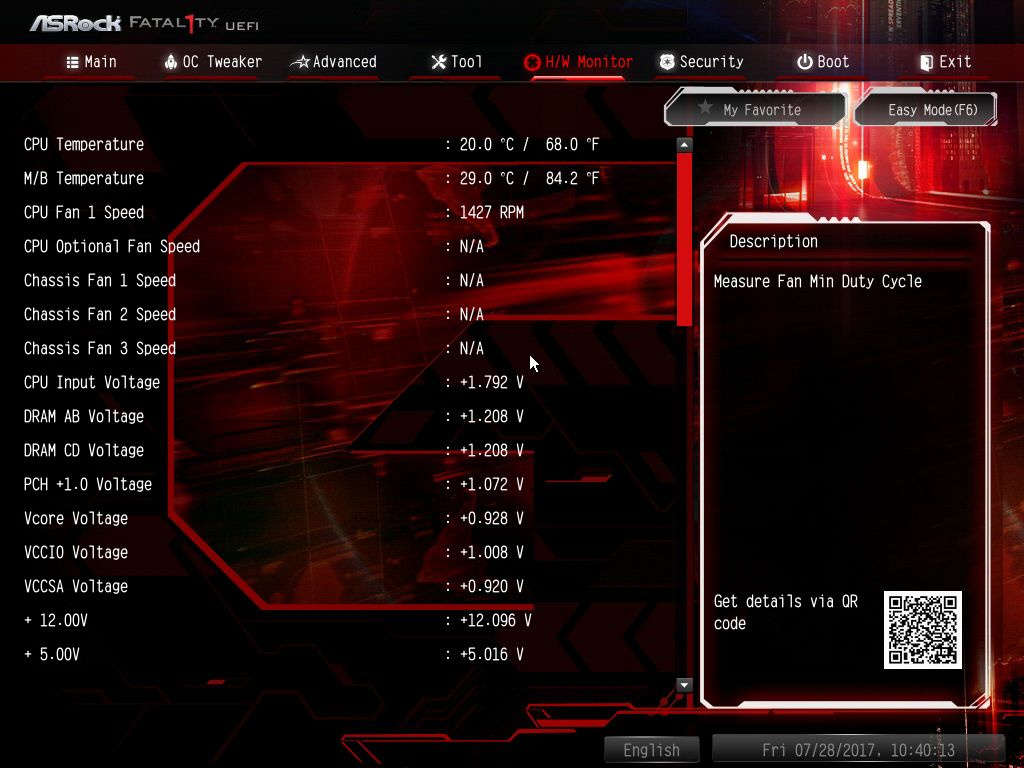
The Advanced section of the X299 Professional Gaming i9 is a list of folders/sub-menus each having adjustable options to the subsystems of the motherboard. It offers control over the CPU and Chipset configurations, Storage, and USB among other options. The 'Tool' tab option lists several features, such as RGB LED to set the RGB lighting, an Easy RAID installer to quickly setup RAID arrays, as well as UEFI utilities for flashing the BIOS (via internet or local Instant Flash). It also has a function to securely backup the UEFI. The H/W Monitor screen shows live readings of temperature sensors, fan speeds and voltages. Moving down in this section allows for tweaking of the motherboard fan headers for fan and pump speeds.
Security, Boot, and Exit are fairly self-explanatory. If a password is needed required at the BIOS level, the Security section is where that can be set. The boot section covers exactly that, most anything that touches the boot process. From drive priority, to speed of the boot, to having, or not, a full screen logo on boot. The gallery below shows all the UEFI screens.


ASRock X299 Gaming i9 Software
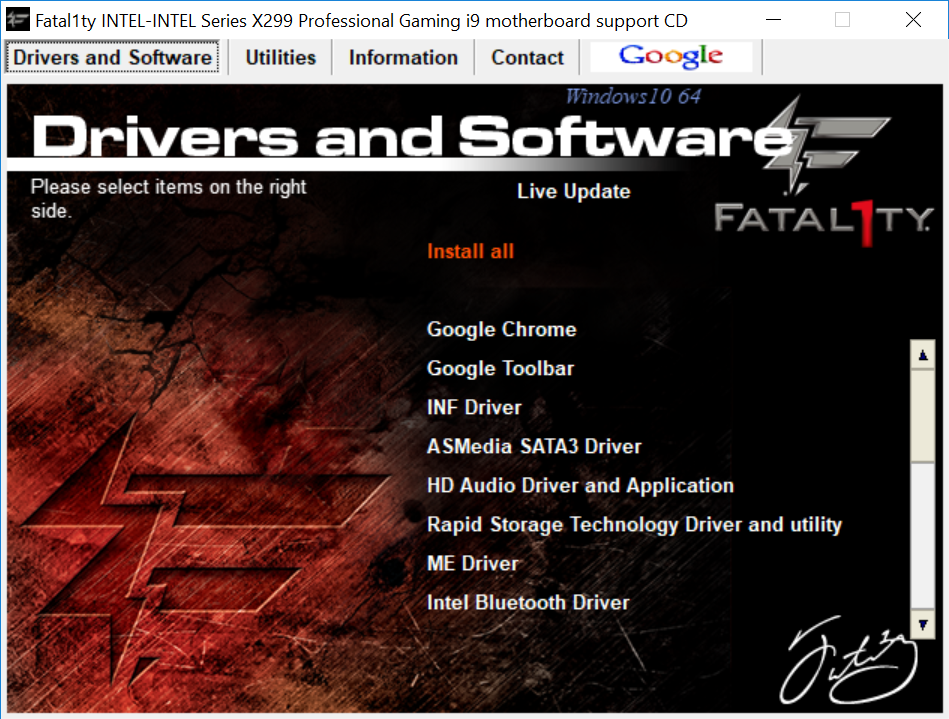
The included driver DVD comes with all the drivers a user needs to get started. It also contains some Google freeware (Chrome and the Google Toolbar) on the main Drivers and Software page. Moving over to Utilities, this section includes the ASRock RGB LED, and the Sound Blaster Cinema 3 audio application. Last is the information tab, where owners will find links to soft copies of the user’s manual, quick installation guide, a RAID installation guide, and Intel RST guides.
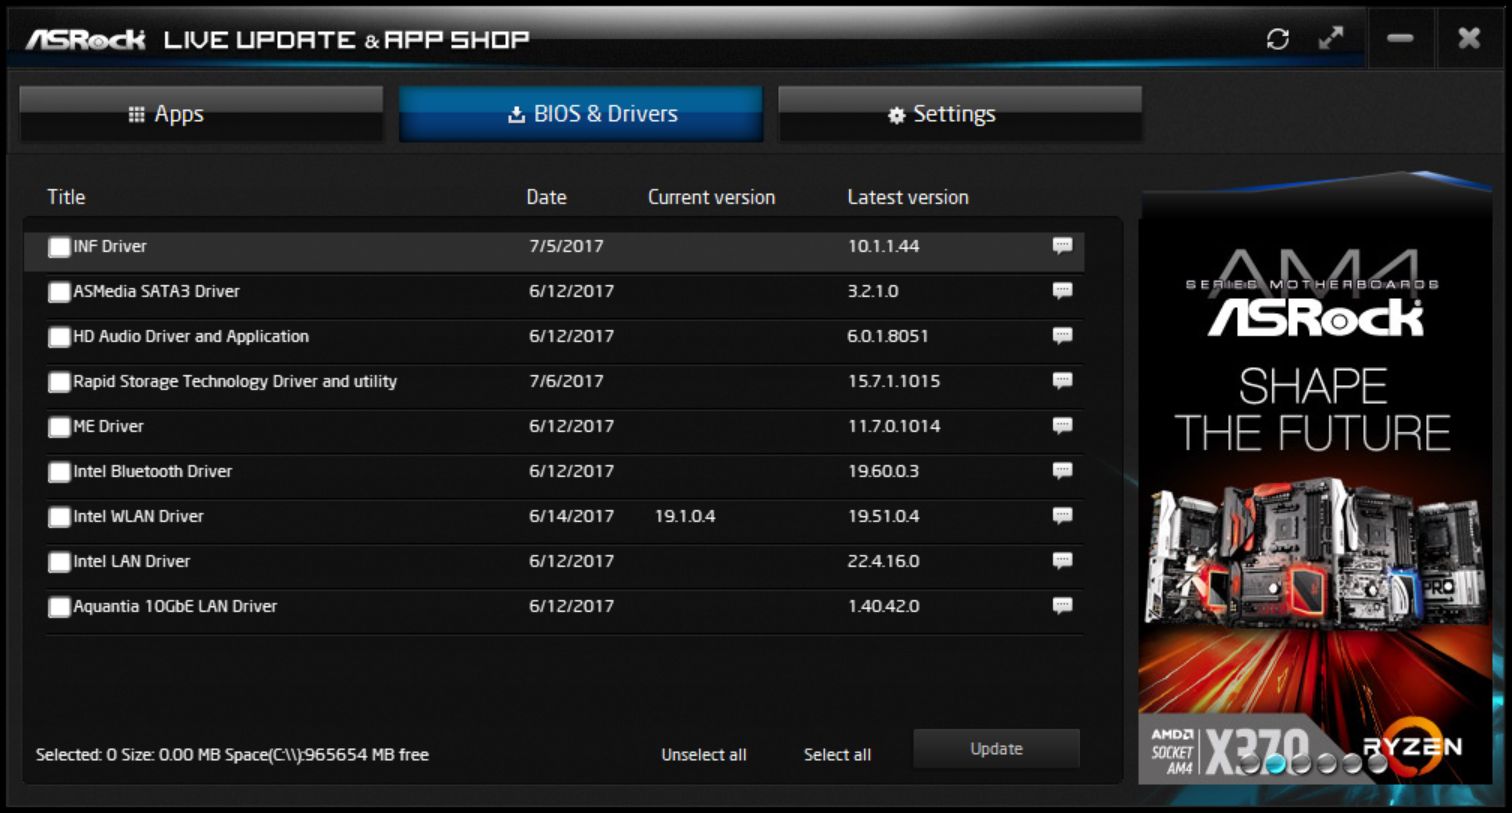
ASRock App Store
Once the drivers are installed from the disk, a user can install the App Store application and confirm all drivers are up to date in the BIOS & Drivers tab. If they are not, the drivers can be updated by selecting the driver that isn’t and pressing the Update button. The Apps section is has software downloads for Sound Blaster Cinema 3, the RGB LED Utility, and some sponsored downloads for Norton Security and a couple of slot games.
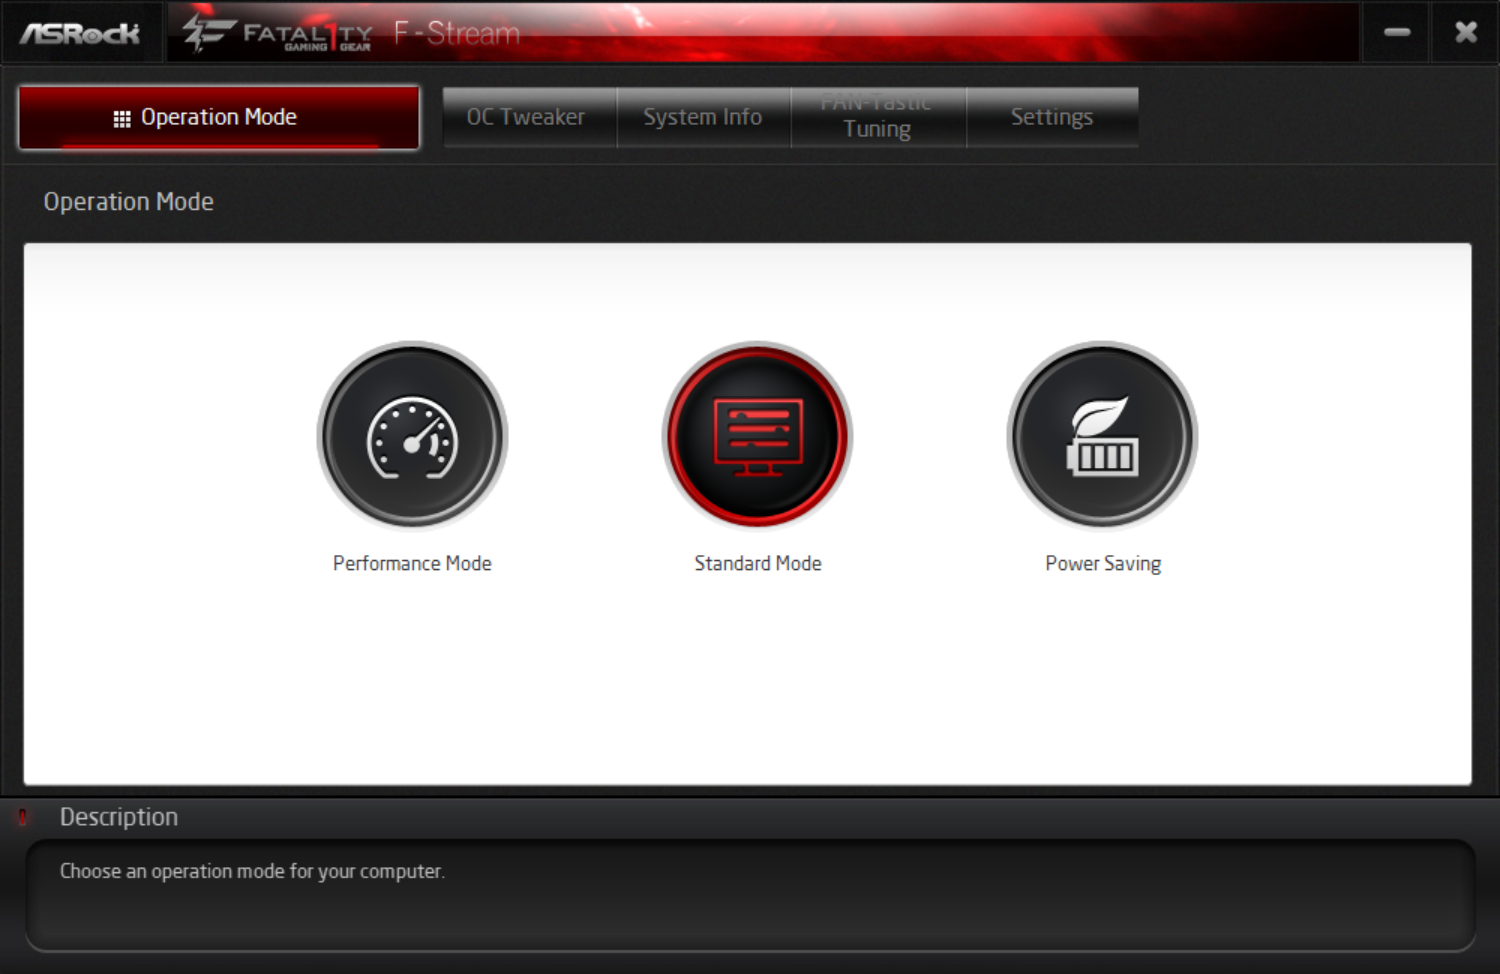
F-Stream
If system monitoring and overclocking from within windows is the preferred method, ASRock has its F-Steam application. From within the program, there are three preset modes users can choose from: Performance, Standard (default), and Power Savings. These options manipulate power savings and turbo modes, but does not overclock. The OC Tweaker section has the necessary manual options from voltage control to BCLK and CPU ratio. The System Info section displays informative details on the CPU speed including BCLK and CPU ratio, fan speeds and temperatures, as well as voltages. Also included with F-Stream is their FAN-Tastic Tuning section where motherboard connected fans can have their fan curves adjusted from within windows.
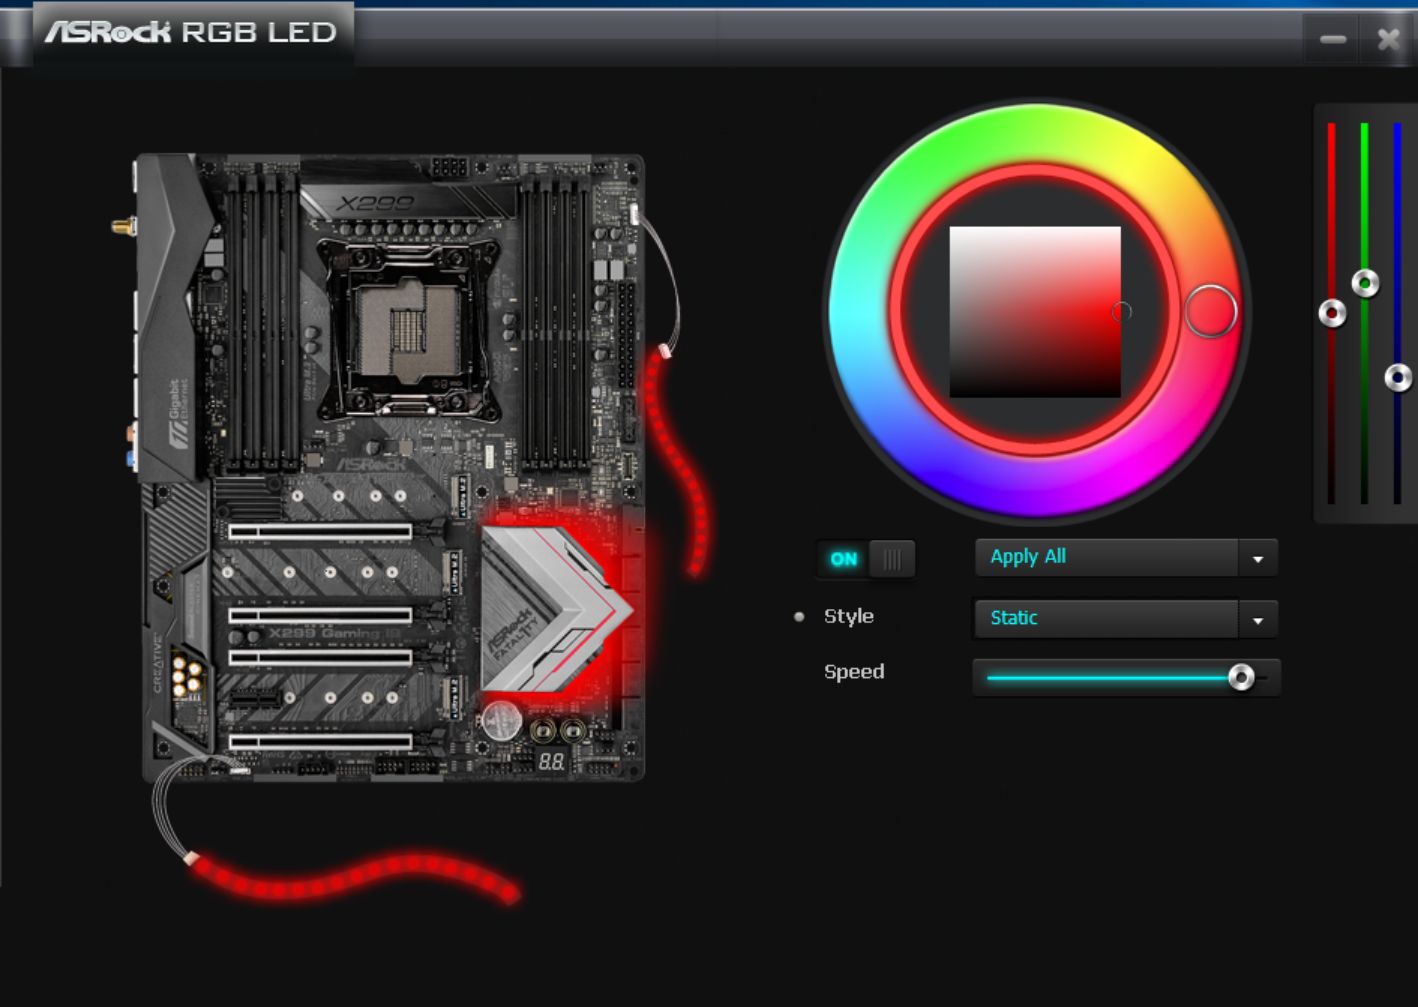
ASRock RGB LED
The ASRock RGB LED application gives users the ability to change the color, style, and speed of the integrated LEDs under the PCH, or control of external RGB LEDs when attached to the two headers. It has several modes/styles to choose from as well as full control over the color with RGB sliders.
Sound Blaster Cinema 3
The Sound Blaster Cinema 3 software suite allows manipulation of the audio ecosystem. Users are able to control aspects of the surround sound implementation, bass boost, sound crystalizer, and dialog plus to tweak the sound to the user's preference. It has three different modes, music, movies, and games, for setting options within each type of playback situation.


22 Comments
View All Comments
Gothmoth - Friday, September 29, 2017 - link
https://www.youtube.com/watch?v=osSMJRyxG0kif you want to know why websites and bloggers who rely on advertising review so much intel stuff but mostly ignore AMD.