Western Digital My Passport Wireless Review
by Ganesh T S on December 3, 2014 4:15 PM EST- Posted in
- Storage
- Gadgets
- Mobile
- wireless storage
Introduction and Setup Impressions
Mobile devices such as smartphones and tablets have taken off in a big way. However, internal storage has remained at a premium. Screen and sensor resolutions have increased. The file sizes for images and videos of acceptable quality on them have also correspondingly gone up. However, the internal storage capacity at similar price points has not shown the same rate of increase. Over the last few years, many companies have tried to address this opportunity by marketing wireless storage peripherals coupled with mobile apps. Western Digital has entered into the market relatively late with the My Passport Wireless product line.
The My Passport Wireless adopts the same strategy as other similar devices in the market - a capacious portable USB 3.0 hard drive, a battery for wire-free operation and a Wi-Fi radio enabling it to act as an access point or a wireless NAS / hot-spot mode. There are two main differentiating aspects in terms of the hardware feature set:
- SD card slot (with the ability to automatically copy over the contents of an inserted card into the hard drive)
- MIMO-capable Wi-Fi chipset (with support for up to five simultaneous connections, but, unfortunately, still 2.4 GHz-only)
In terms of software features, Western Digital has added FTP server capabilities (which allow advanced digital cameras to directly upload photographs to the unit in the field). In addition, the mobile app for accessing the My Passport Wireless is the same WD My Cloud app used to access their EX2 and EX4 NAS units.
Hardware and Platform Analysis
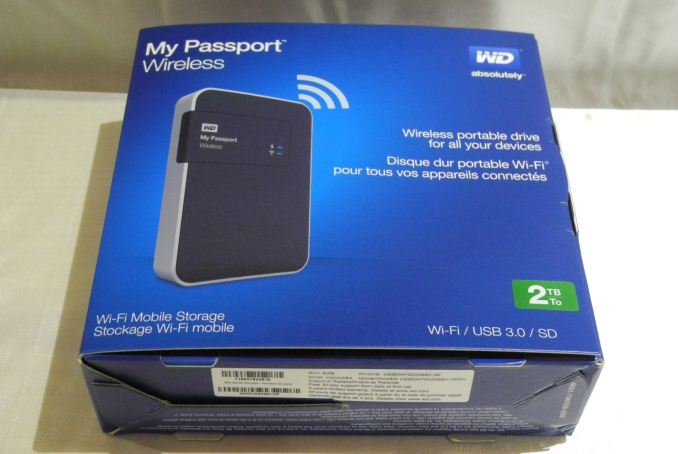
The My Passport Wireless unit comes with a 10W adapter (5V@2A). The output is a standard A-type USB 3.0 receptacle. Bundled with the unit is a 2 ft. USB 3.0 cable (Male-A to Micro-B). The USB 3.0 cable is also used to connect to the PC for usage as a DAS (direct-attached storage) unit as well as charging the internal battery. Other than the main unit and the USB cable / charger, we have a quick start guide.


In order to get more insight into the internals, we dug up the FCC filings for the My Passport Wireless. Selected teardown pictures are provided in the gallery below.


In conjunction with the information gleaned via SSH access to the unit, we can arrive at the following important internal components for the 2 TB My Passport Wireless unit:
- TI AM3352 Sitara Cortex-A8 SoC
- TI WiLink WL1805MOD SDIO Wi-Fi (802.11bgn, 2x2 MIMO) Module
- SK hynix H5TQ4G63AFR 512 MB DDR3 SDRAM
- SK hynix H27U1G8F2B 128 MB SLC NAND Flash
- WD Green 2 TB 2.5" HDD
- 3400 mAh 3.7V Li-Po Battery
The TI Sitara platform is quite popular and field-proven in the wireless storage market. Therefore, the component choices made by Western Digital are not surprising. Coming to the hard drive itself, we get confirmation after running CrystalDiskInfo with the My Passport Wireless connected as a DAS unit over USB 3.0.
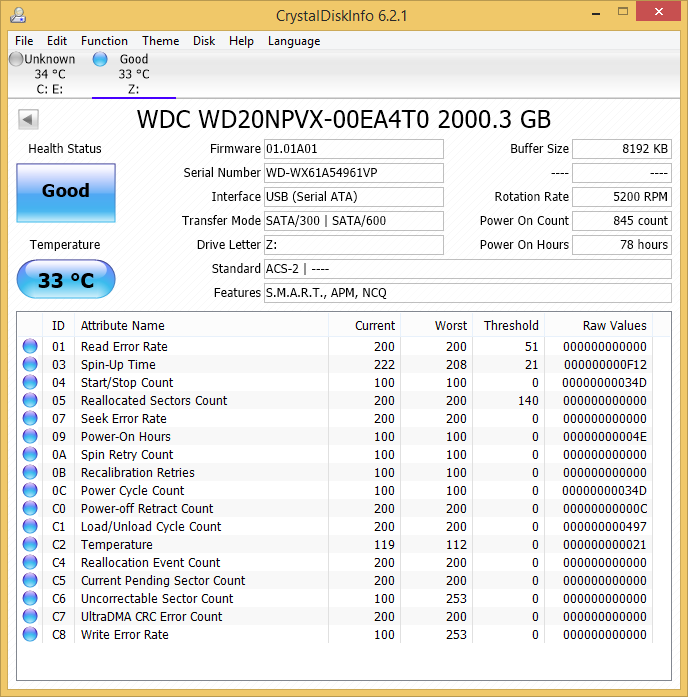
The WD20NPVX is indeed the 2 TB WD Green drive. Looking at the datasheet (PDF), we find that the drive consumes, on an average, only 1.7 W for read/write operations. At idle, it drops down to 0.8W, while standby/sleep modes require only 0.2W. This makes it perfect for a USB 3.0 bus-powered drive (since the maximum power that can be delivered over USB 3.0 as per specifications is only 4.5W)
Setup Process
The setup process is quite straightforward. Powering up the unit (after the suggested full charging routine) creates a 'MyPassport' SSID (unsecured). Consumers can choose either a mobile device (with the WD My Cloud app installed) or a computer to connect to the SSID and proceed with the setup. On a mobile device, the app automatically recognizes the My Passport Wireless device responsible for the SSID and provides a way to configure it (in terms of operation mode, access password and other details). We decided to go the PC route.


The initial setup involves setting a password and altering the default SSID (optionally). After this process, the PC needs to be reconnected to the new SSID with the updated security settings. The dashboard presents all the important details such as remaining hard drive space, remaining battery charge, operation mode (direct connection or hot-spot), firmware version and system time. The remaining pages (navigable via easy to identify icons in the top bar of the UI) allow for further configuration including setting up of additional Wi-Fi networks, administrator settings, turning on/off SSH and FTP access, diagnostics, DLNA and SD card import settings etc.


Recent updates to the firmware have further streamlined these settings. Particularly, the Wi-Fi configuration has been updated to remove all references to a 'hot-spot' mode. When the device is configured to connect to a Wi-Fi network, the user can specifically control an option to allow / deny access to it over that particular Wi-Fi network. Simply put, the 'allow access' setting corresponds to a Home Network setting, while the 'deny access' setting corresponds to the hot-spot mode in the previous firmware. In the modes where a device connects to the My Passport Wireless's SSID, the unit acts as a DHCP server with IP address 192.168.60.1.


The gallery below also has screenshots from the My Cloud app on an Android tablet connected to the device


On the whole, the setup process was quite user-friendly. Western Digital also has excellent documentation [ PDF ], which makes product usage simple even for non-tech savvy folks.


23 Comments
View All Comments
marvdmartian - Tuesday, December 16, 2014 - link
Hey, more power to you, if that's what you're looking for. My point was rather to state that there are less expensive (and more effective) solutions, IMHO.name99 - Thursday, December 4, 2014 - link
OMG it's running an A8.CONFIRMED: Apple is selling CPUs to third parties!!!
:-)
michaelbbateman - Friday, January 23, 2015 - link
By using this WiFi drive from my laptop, I am effectively disconnecting my machine from the internet, unless I am missing some core concept here? I mean this guy creates it's own network with no internet connection and I abandon my usual network connection in favor this new one and that's it, right? Am I missing something?