Build-A-Rig Round 1, Zotac vs. Corsair: The $1500 PC Build Logs
by Ryan Smith & Ganesh T S on July 30, 2015 3:00 PM EST- Posted in
- Build-A-Rig
- Corsair
- ZOTAC
In early July we introduced our new Build-A-Rig project. The aim of the project, with help from our partners Newegg, is to approach the companies that make up the personal computing industry roughly every quarter and ask them to create a list of components within a certain budget aimed at a particular user base. Aside from that there are no rules, and at the end of the day the systems would be built and tested by AnandTech to be given away to our readers.
For each build we would interviews the individuals from the companies who we work with about the state of the PC industry and their chosen components, critique the components used, write up build logs for each system and then provide performance numbers. This round is our first, and we spoke to Chinny Chuang from Zotac and Dustin Sklavos from Corsair to create a parts list for a $1500 single monitor gaming system. Zotac went more for style and ease of use, Corsair went more for pure power, and we carefully dissected each component chosen in our previous.
But before we get to the performance numbers, we had a look at just how easy these two systems were to build, in the form of build logs. Ganesh tackled Zotac's Hey Good Lookin', while Ryan built up Corsair's The Accelerator. Game on!
Building Zotac's Hey Good Lookin'
Build Log by Ganesh TS
| Zotac's Hey Good Lookin' | |||
| Component | Selection | Price as Chosen |
90-Day Average |
| Processor (CPU) | Intel Core i5-4460 | $189.99 | $189.85 |
| Motherboard | GIGABYTE GA-Z97X-UD3H-BK | $139.99 | $138.17 |
| Graphics Cards (GPU) | Zotac GTX 970 AMP! Extreme Core Edition | $369.99 | $369.99 |
| Memory (DRAM) | Corsair Dominator Platinum 2x4GB DDR3-1866 C9 |
$99.99 | $104.27 |
| Storage (SSD/HDD) | Crucial BX100 500 GB SSD | $189.99 | $188.39 |
| Power Supply (PSU) | Rosewill Quark 750W Platinum | $139.99 | $135.31 |
| Chassis | NZXT S340 Black Steel ATX Mid-Tower |
$69.99 | $69.99 |
| CPU Cooling | Corsair Hydro Series H100i GTX* | $109.99 | $119.99 |
| Operating System | Windows 8.1 Full Version | $119.99 | $119.99 |
| Extras | SilverStone Sleeved 6-pin to 6-pin x2 |
$14.98 | $14.98 |
| SilverStone Sleeved EPS12V 4+4-pin |
$7.99 | $7.99 | |
| SilverStone Sleeved 24-pin |
$12.99 | $12.99 | |
| Samsung USB 2.0 External DVD Drive |
$23.99 | $23.82 | |
| DEEPCOOL RGB LED Strip with Controller |
$16.99 | $16.99 | |
| Total | $1,506.85 | $1,492.58 | |
*In our first breakdown of parts, we mislabelled this part as the H100i.
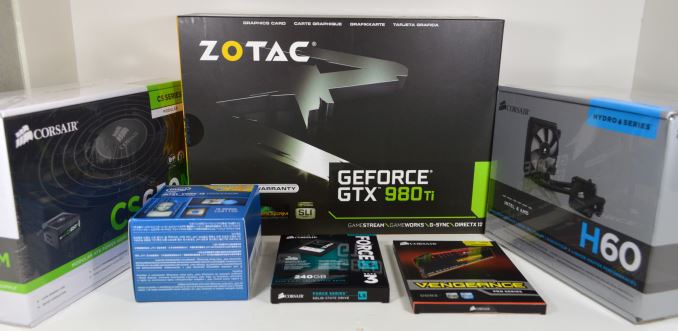
Zotac's big list of components came from Newegg in two shipments. The NZXT S340 case came in first. A big Newegg box with the rest of the components came in a couple of days later.
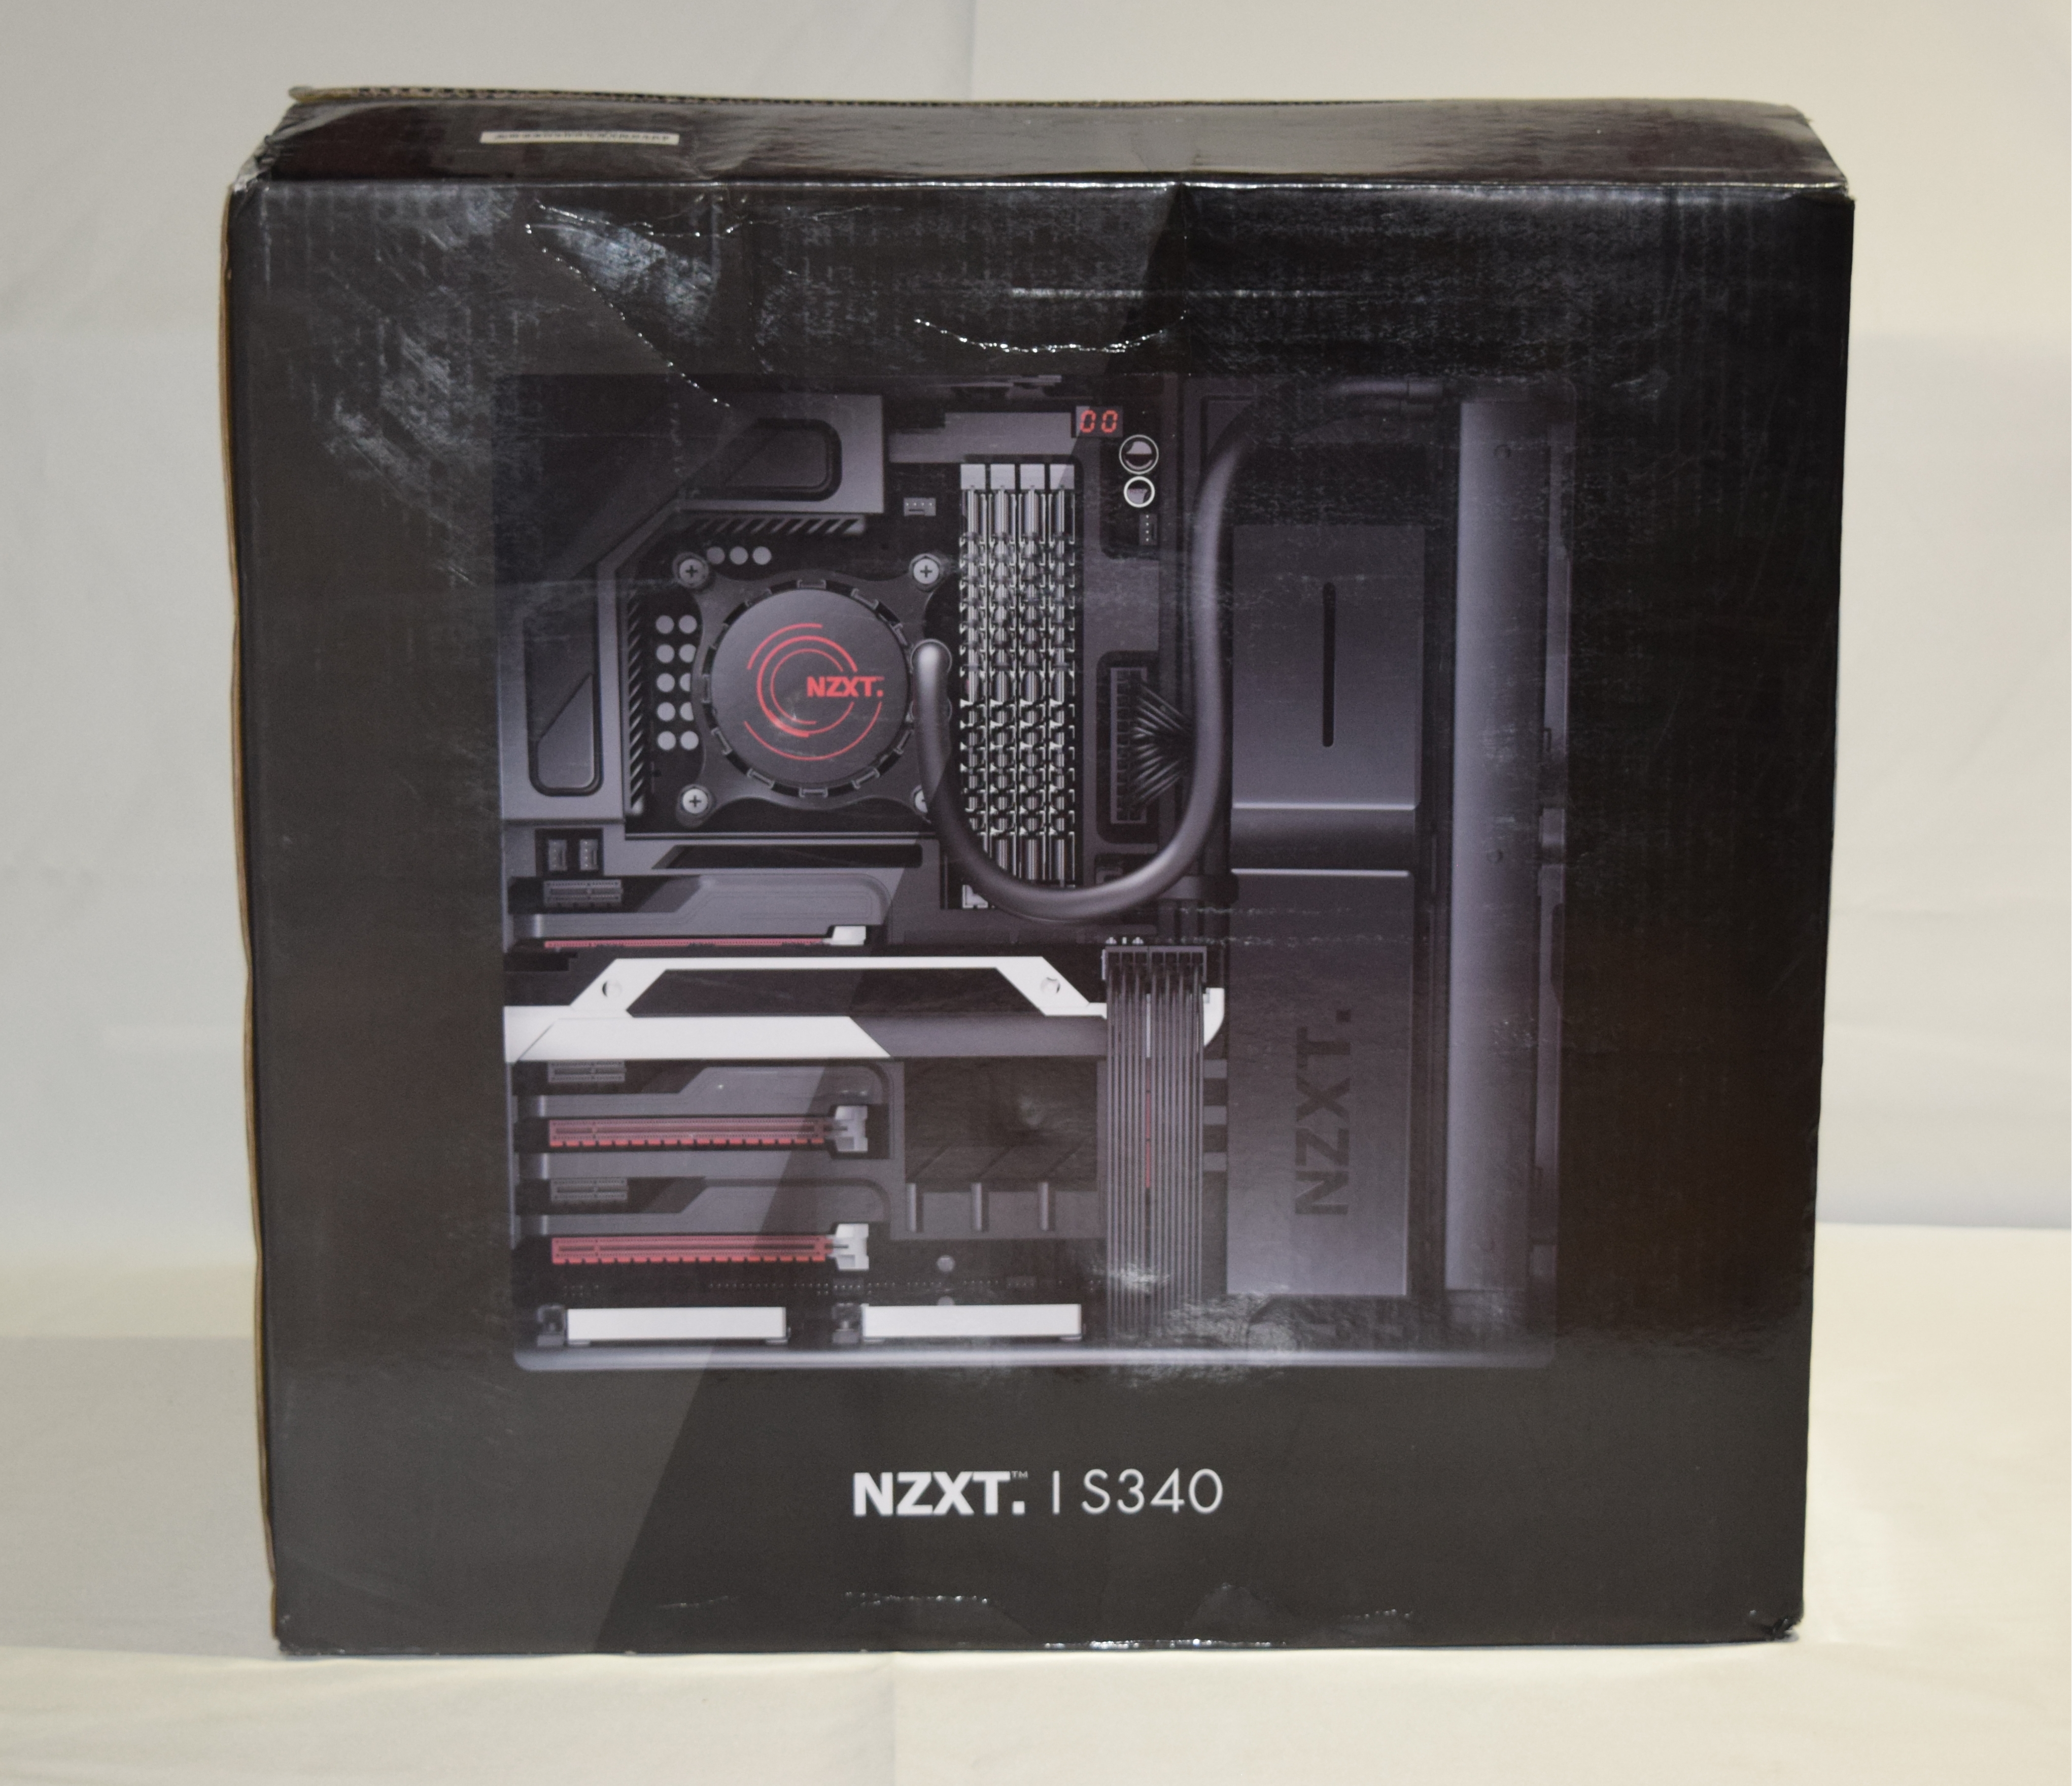

The NZXT S340 Black Steel ATX Mid-Tower chassis is a $70 case. Despite its low price, it offered a number of features aiding in easy assembly of the system.
- The side panels were easily removed without the aid of a screwdriver, thanks to the thumbscrews.
- The case was nicely divided into specific compartments for the installation of the motherboard, the PSU and the SATA drives.
- The case made it easy to manage the cables and keep them out of sight.
On the flip side:
- The case weighed in at slightly more than 7 kgs. when empty, and the sticky rubber feet made it a bit difficult to maneuver the case around when installing components.
- The sharp edges of the case had to be kept in mind while handling the case
- Though there was enough clearance between the edge of the motherboard area and the front panel for installing the fans of the liquid cooler in the build component list, readers contemplating the usage of the NZXT S340 and a liquid cooler would do well to research the fan / radiator dimensions (the clearance is 57mm)

The GIGABYTE GA-Z97X-UD3H-BK Z97 motherboard chosen by Zotac has all the features one would expect in a Z97 board, along with server-class burn-in testing. The board gave little cause for complaint during installation. It would have been nice to have a combo-connector to enable easy hook-up of the front panel cables to the motherboard pins, but, thankfully, the design of the internals of the case as well as the motherboard positioning alleviated the issue. In addition a USB key with the drivers for the post-build setup process would have been nice, but Zotac included an external DVD drive in the build list anyway. Having been accustomed to motherboards with Wi-Fi capabilities over the last few generations, I made the mistake of starting the build process away from a wired networking outlet. A temporary USB WLAN adapter helped in getting the updates processed once the OS was installed.
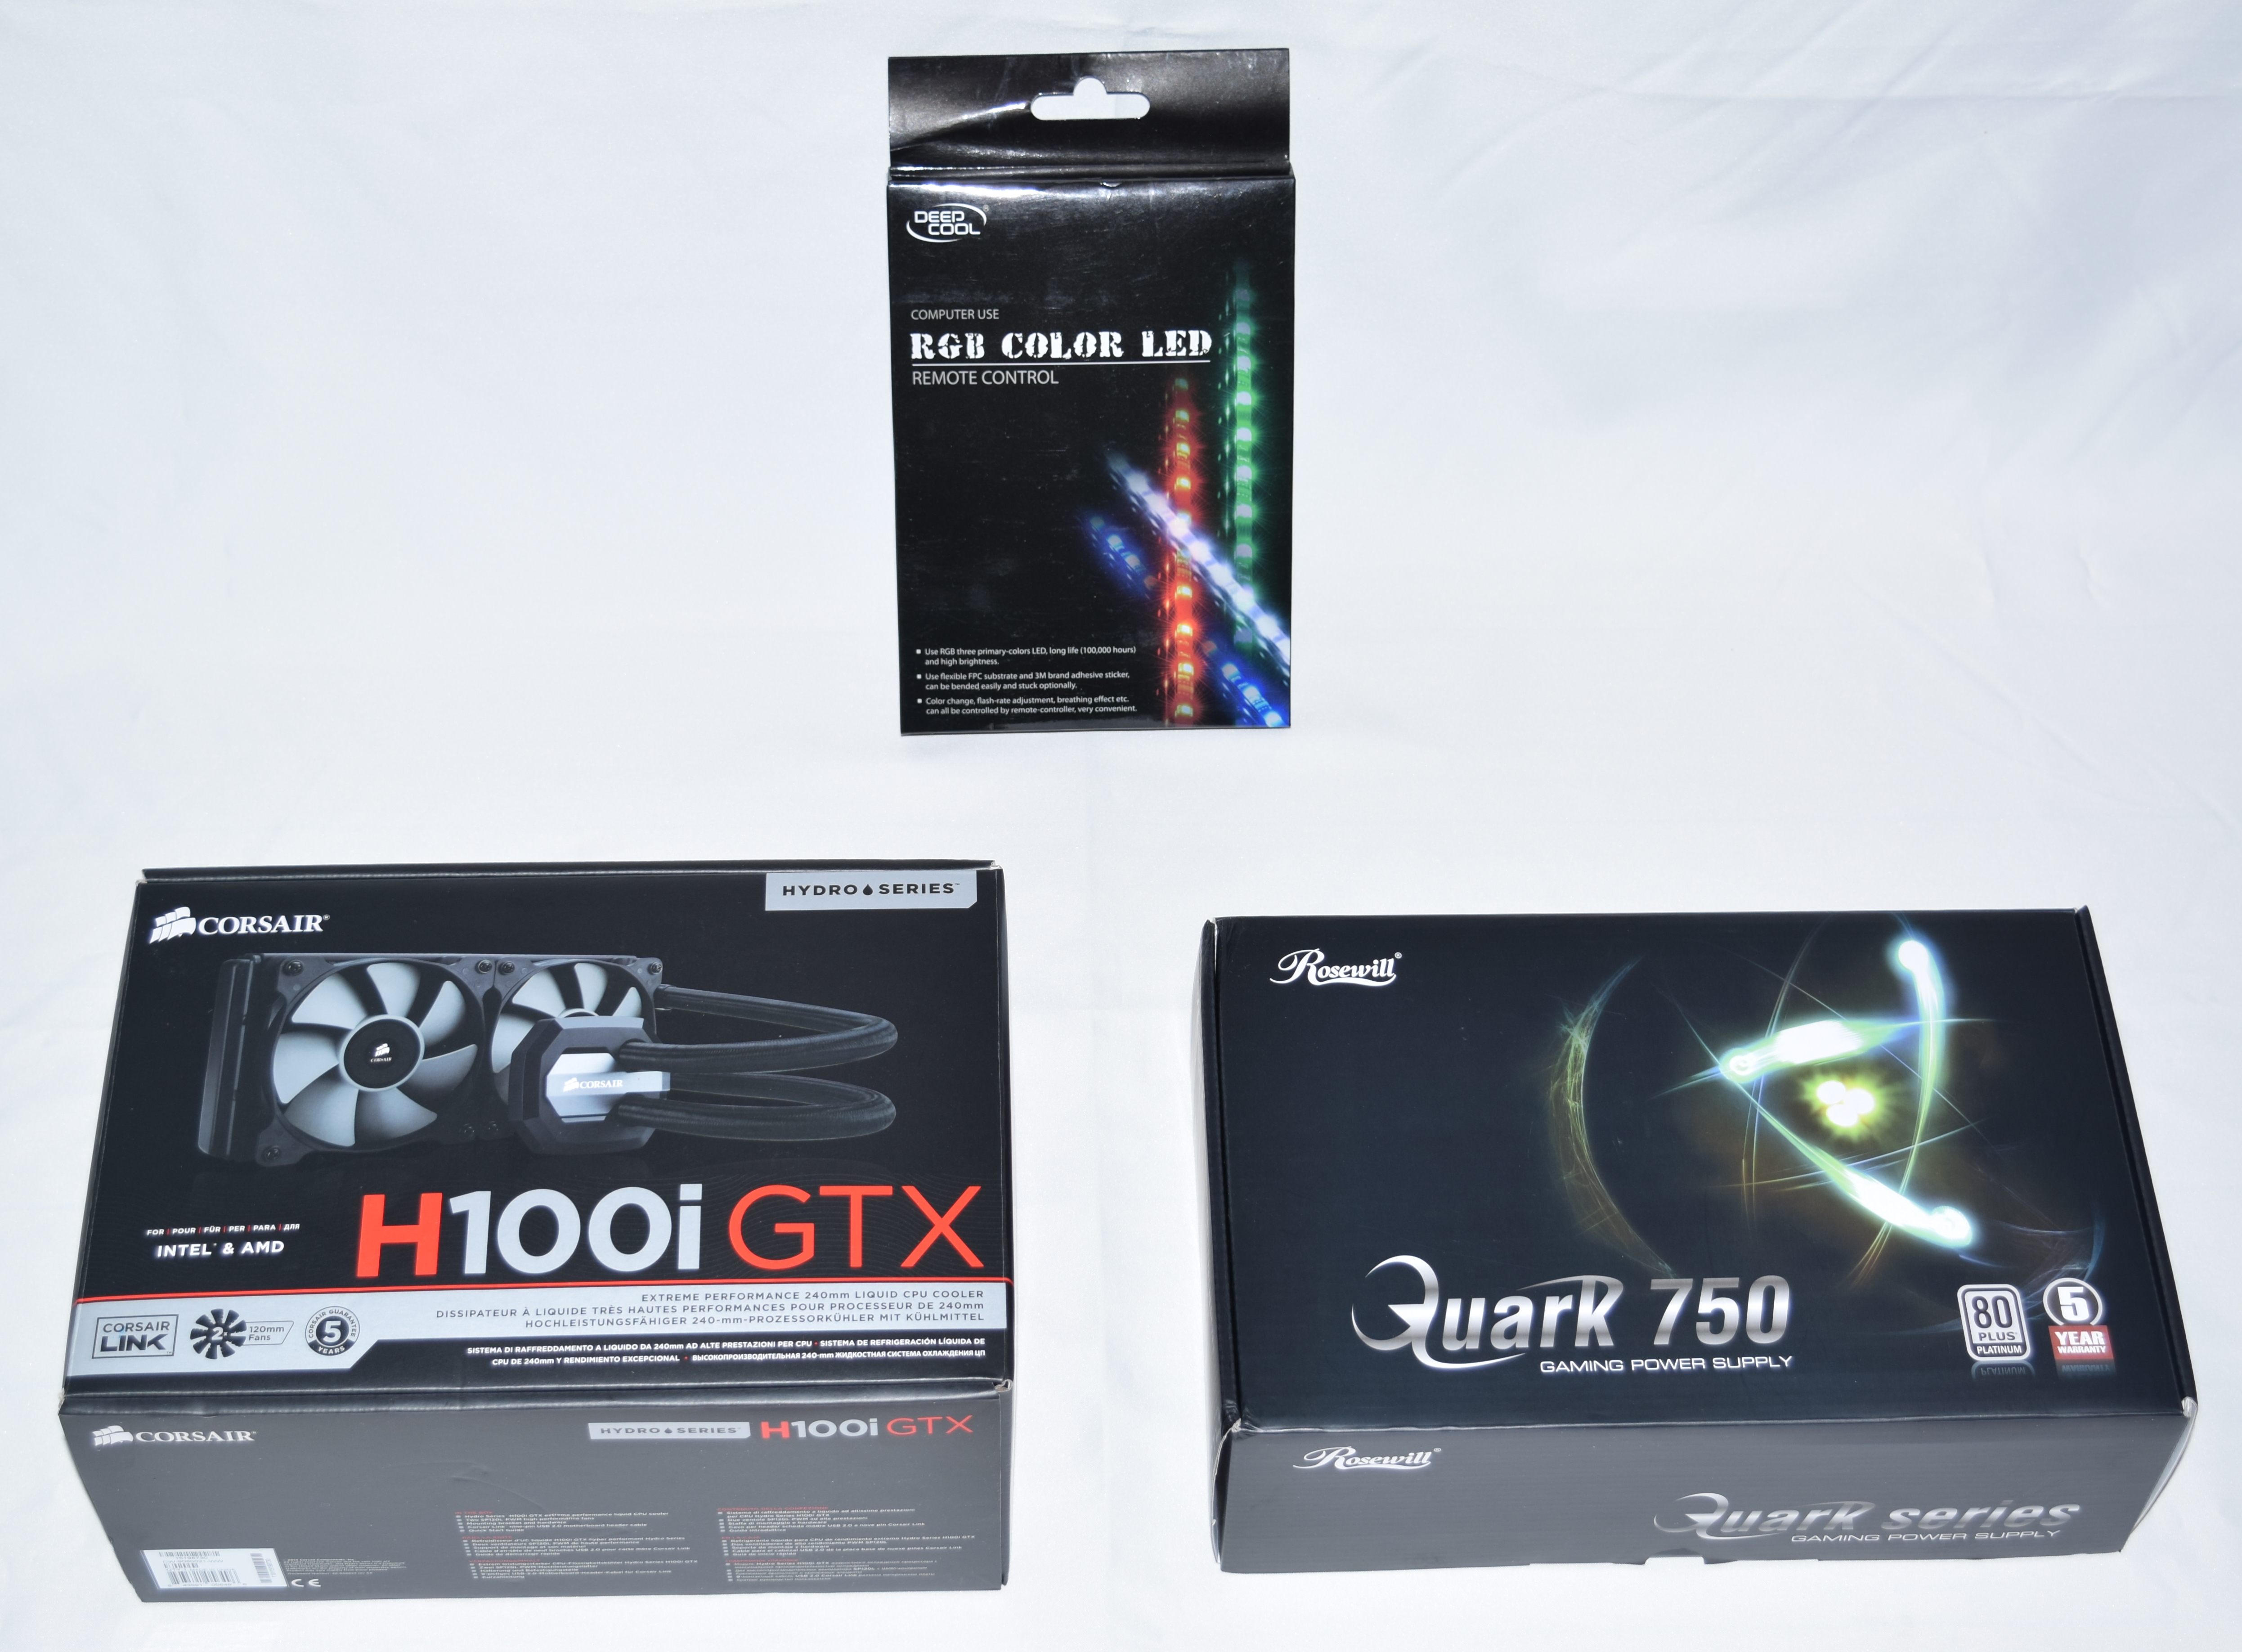
In my personal builds, I usually opt to go with the stock cooler that comes along with the CPU for cost. Zotac's build, however, use the Corsair H100i GTX liquid cooler for a couple of reasons - the fan noise is greatly reduced (thanks to the 120mm fans that mount on the front side of the chassis) and the CPU is able to keep a lower temperature under sustained loading compared to the stock cooler. In addition, the build process was also much simpler - there was no thermal paste to explicitly deal with, since the H100i GTX came with the thermal paste pre-applied. It was a simple matter of hooking up the cooler according to the directions provided and mounting the fans and the radiator. The thickness of the H100i GTX fans comes is 30mm, and that of the radiator is 25mm. There was no trouble mounting this in the 57mm clearance provided by the case. The Corsair H100i GTX also comes with the Corsair Link monitoring and control. The cable was connected to one of the free USB 2.0 ports on the motherboard.
The Rosewill Quark 750W Platinum PSU is modular in nature. Connecting cables to only the necessary outlets helped reduce clutter and made the installation / cable management much simpler. The yellow and red cables that came with the PSU unfortunately didn't go well with the rest of the colors on the motherboard side, and so the Silverstone sleeved cables that Zotac also included in the build came to the rescue. The PCIe power cables, 8-pin 12V connector as well as the 24-pin ATX power connector were terminated on the opaque side of the chassis and only the Silverstone sleeved cables were made to appear on the transparent side.
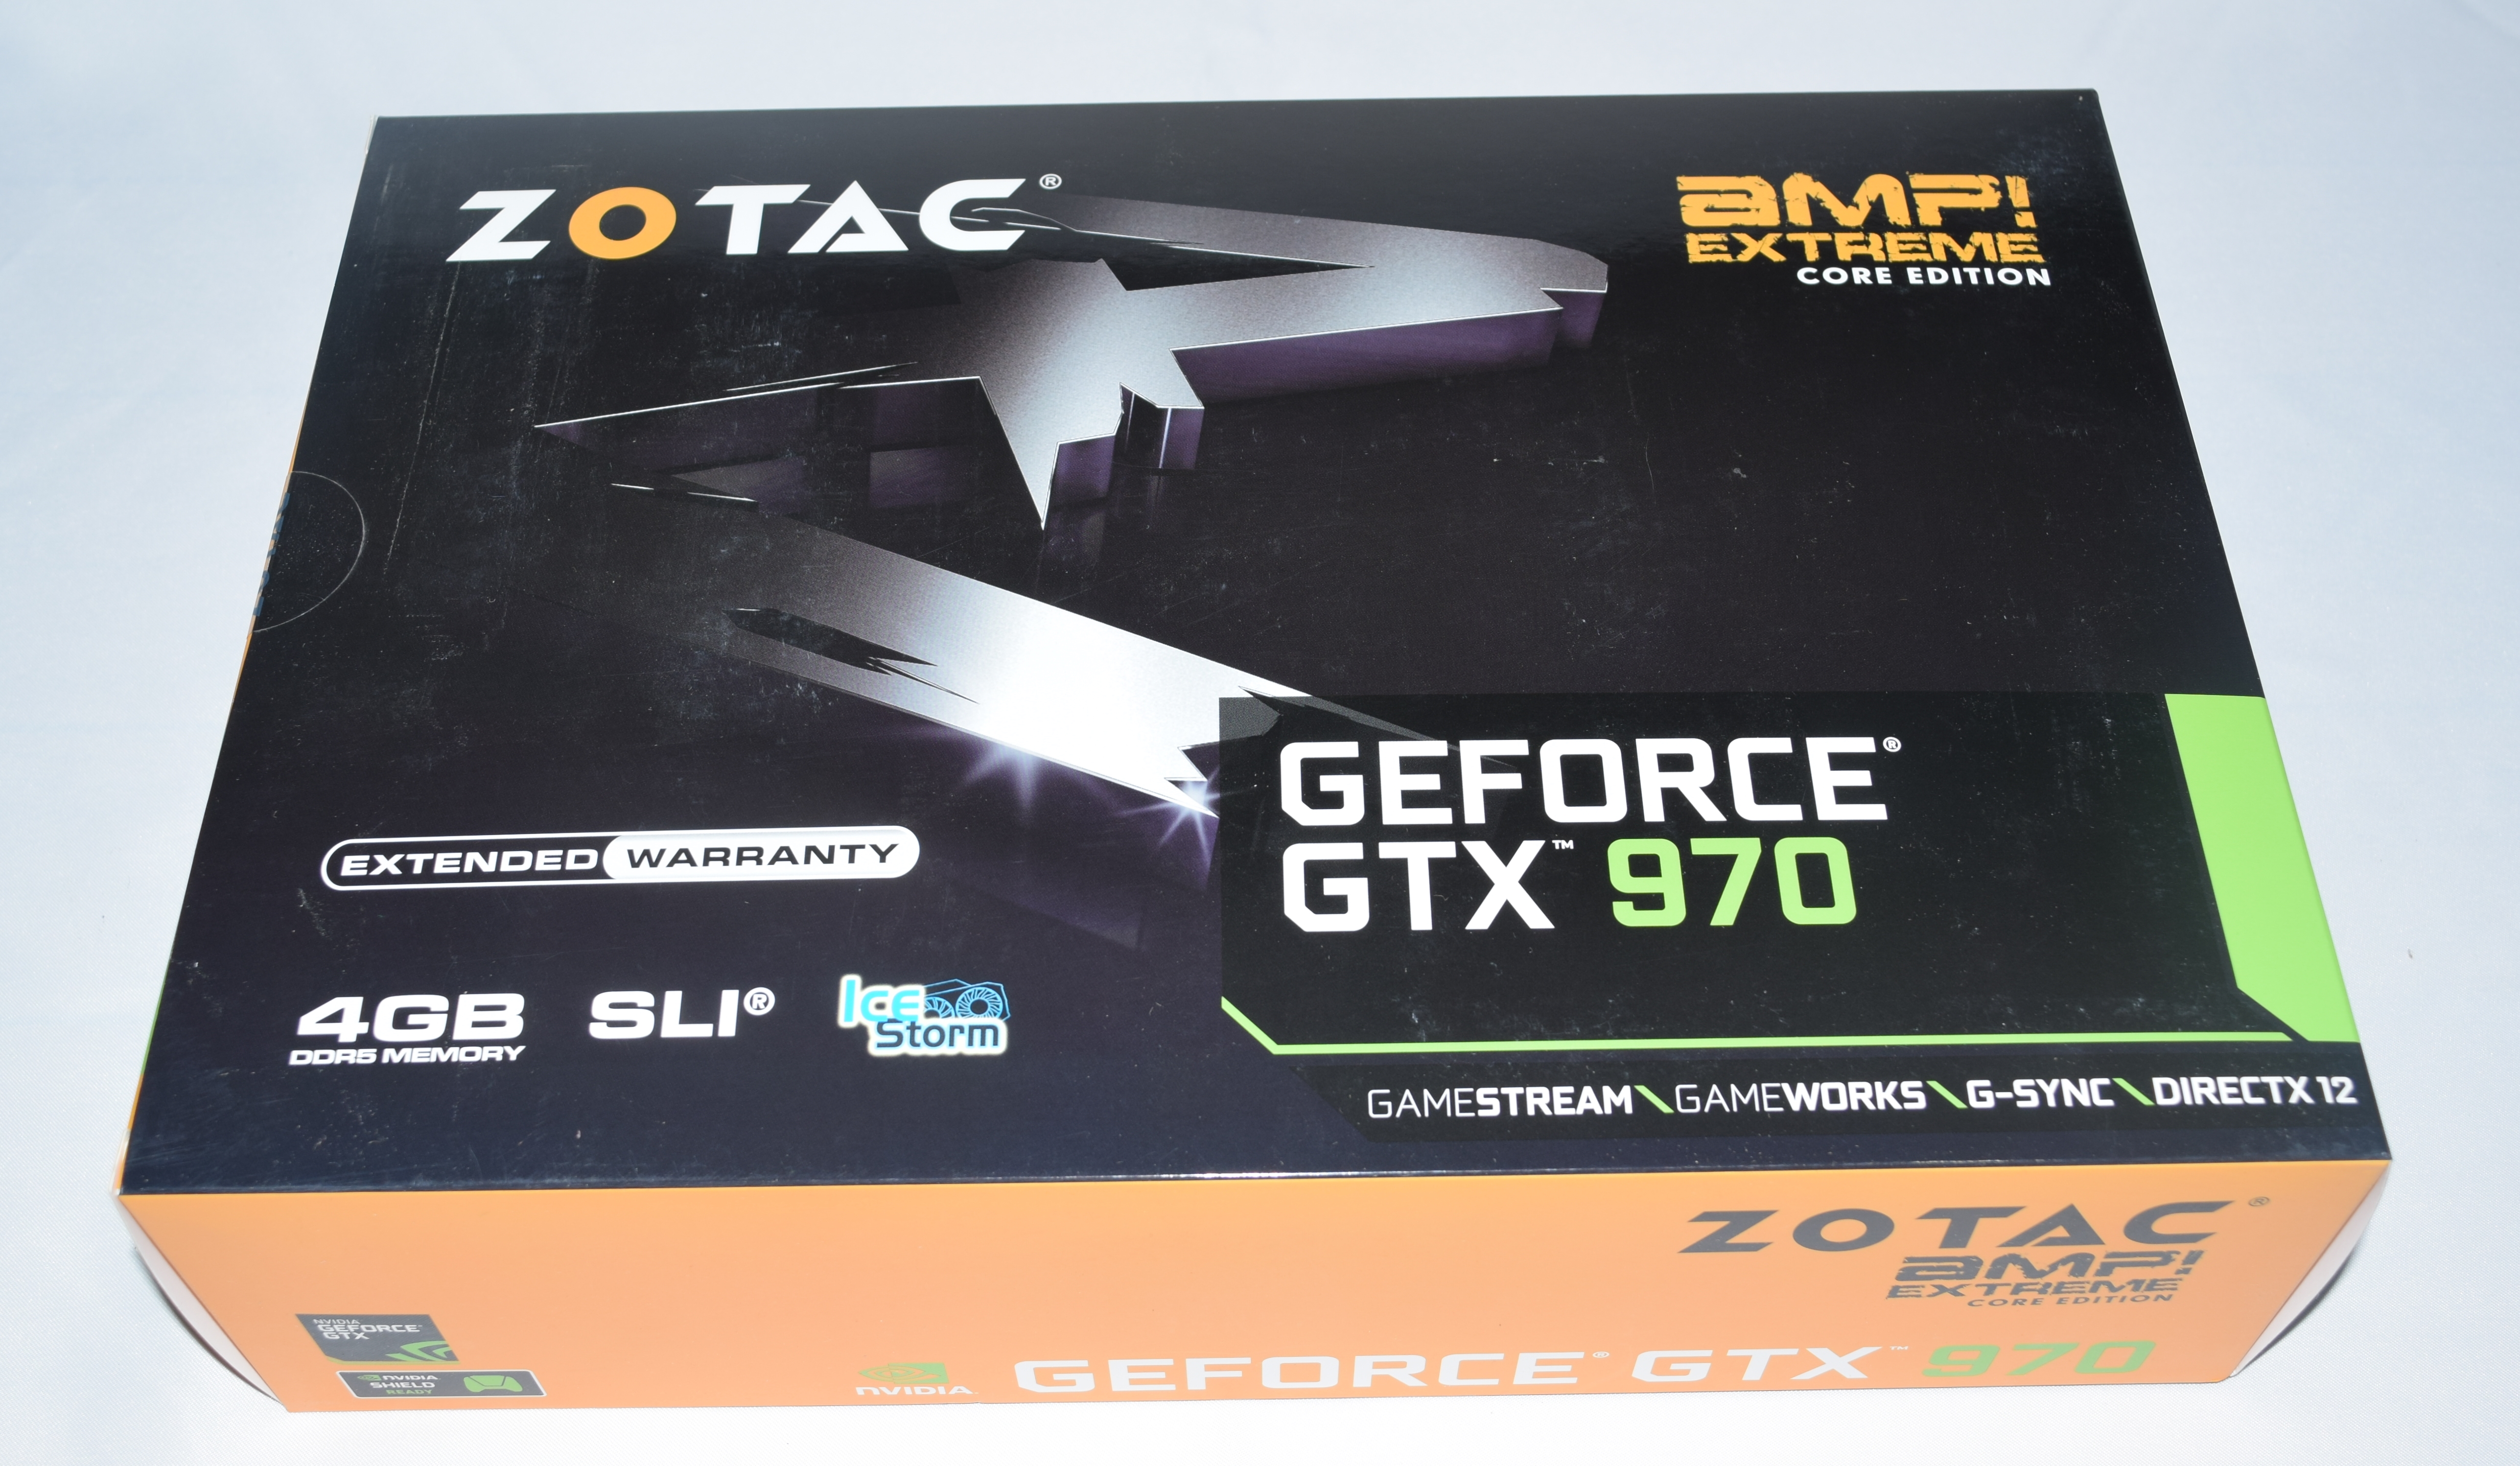
The Zotac GTX 970 AMP Extreme was installed in the PCIe 3.0 x16 slot closest to the CPU. The dual slot card also blocks one of the PCIe x1 slots in the board. The case itself has more than enough clearance to accommodate cards of this size, and the installation was a breeze. The top of the card has Zotac's logo that can be seen clearly through the transparent side of the case. The three fans cooling the GPU also point downwards and don't interfere with the look of the build.


Ian has already covered the details of the other component choices (Intel Core i5-4460, Crucial BX100 and the Corsair Dominator Platinum 8GB DRAM kit). There is not much to add, except that the looks of the Corsair Dominator Platinum and the light bar definitely enhance the visual appeal of the build during operation.
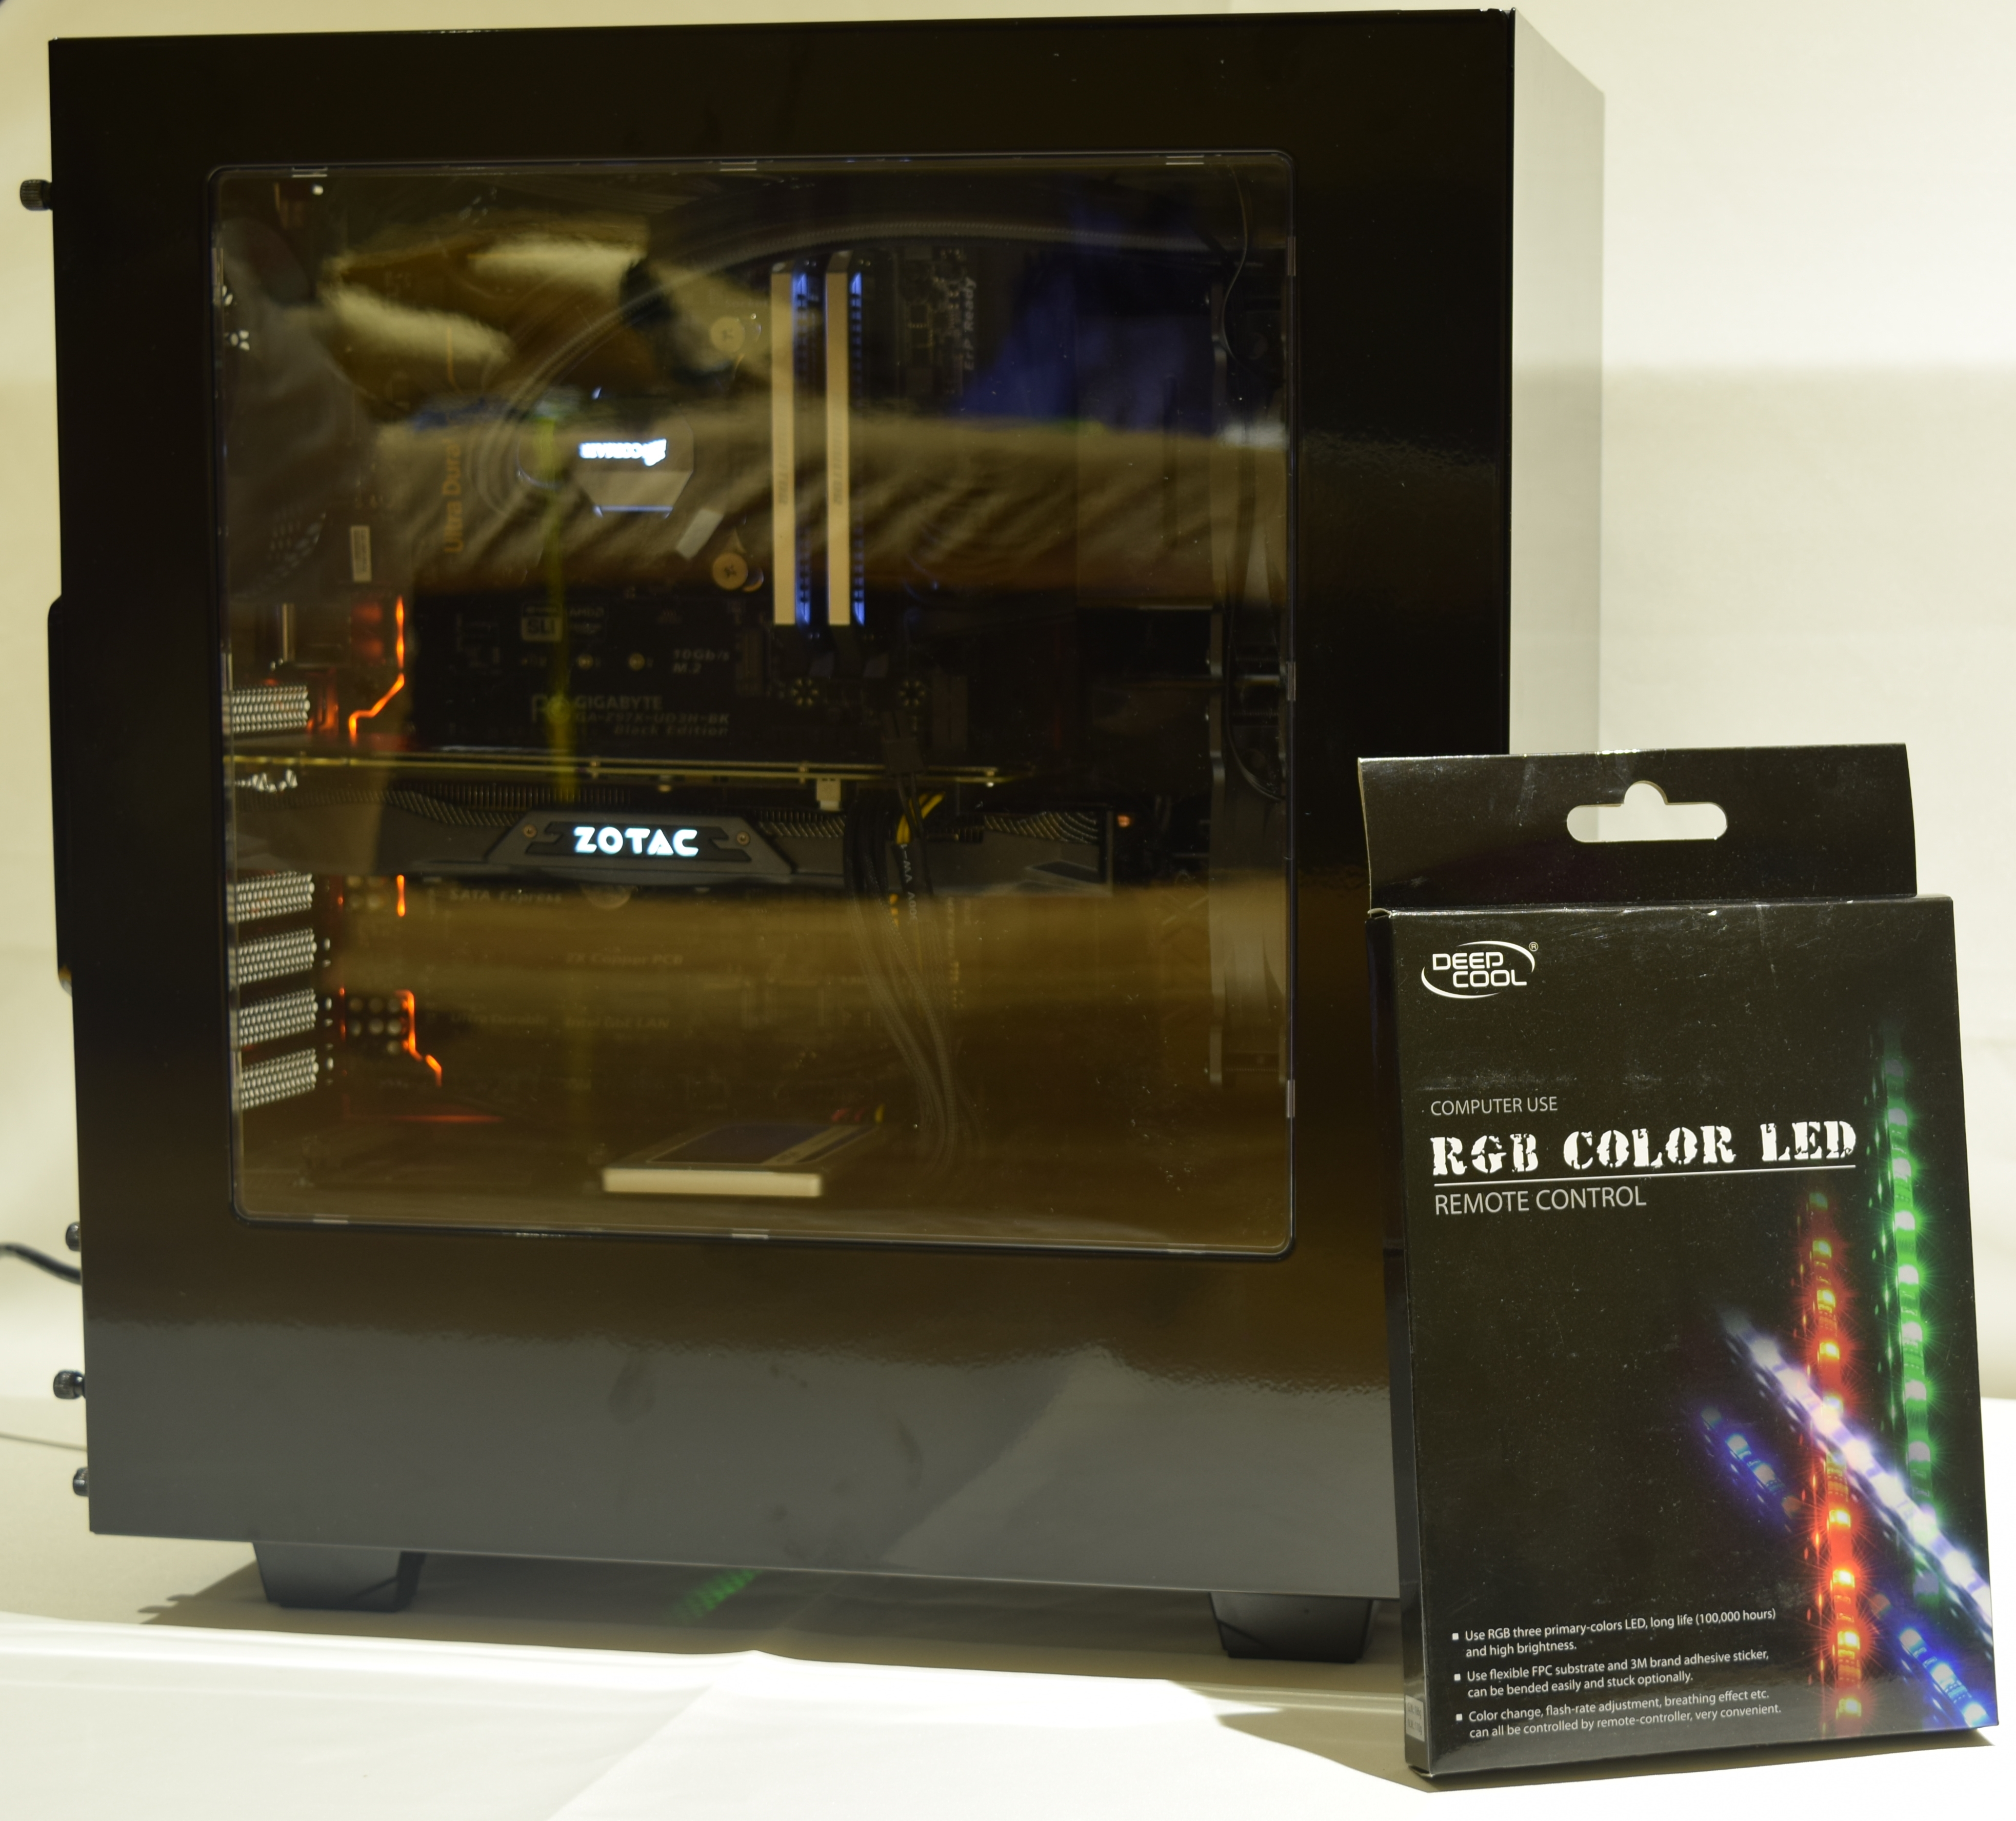
Zotac also included a DEEPCOOL RGB LED Strip with Controller in their build to spruce up the look of the system. There are multiple ways to mount it in the NZXT S340 chassis. We decided to leave it to the preferences of the eventual winner of the system to install it appropriately.


53 Comments
View All Comments
wperry - Friday, July 31, 2015 - link
It looks like the power cable for the mobo could have easily been routed to come out of the top tray slot rather than be snaked over from the hard drive cage, where it's impeding airflow between an intake fan and the GPU.Sure, if it's your own PC and you just want to slap it together, giddyup. But if you're going to be displaying it online, and for a reader vote, none-the-less, spend the extra few minutes.
faster - Thursday, July 30, 2015 - link
I am salivating over that Corsair build. I hope I win! Slap in a 512GB SSD and its good to go! I have acrylic windows on my computers and they are buried under my desk unappreciated. I'll take the power over the aesthetics any day.HollyDOL - Friday, July 31, 2015 - link
Imho Corsair build leaves Zotac far back in the dust. I might have done a little bit different setup (cpu cooler down, psu+ssd up) but I am completely fine with the result. Having 240GB SSD myself I find it completely enough for my gaming needs.zodiacfml - Friday, July 31, 2015 - link
No complaints on the Corsair build. For personal preference, I'd have it on a mini-itx build for more challenge. :)gamer1000k - Friday, July 31, 2015 - link
Pretty much exactly what I did. It actually got picked up by the authors and mentioned on the last page of the previous build-a-rig article.I ended up getting the same CPU and GPU as the Corsair build (complete with 600W PSU and Corsair H55 for overclocking the CPU/GPU) and put it in a Silverstone FTZ-01 case. The budget was tight, but I made it even with mini-itx.
BrokenCrayons - Friday, July 31, 2015 - link
I still prefer the Zotac build. Performance is certainly better with Cosair's box, but I wouldn't bother overclocking anything and I really have no desire to game at higher than 1366x768 so the difference in GPUs is pretty much a moot point. What appeals with the Zotac system is that it has a lot more storage so there's no need to add another form of mass storage right away. It also strikes me as quieter, cooler, and more power efficient with the nice touch of some reasonable lighting to make it pretty inside. Personally, I wouldn't have gone with a water cooler. Intel's whatever-comes-in-the-box HSF is good enough and the temperature difference in the CPU with the huge cooler is more academic than meaningful. If it were me doing this build, I would have opted for a micro ATX case, smaller and cheaper PSU, air cooling only, doubling the RAM (at least) and a GPU somewhere in the GT 740 range (with a mind for GDDR5 over DDR3 of course). Then the rest could have been tossed into more SSD storage space. I also probably would have looked pretty hard at installing an optical drive as well instead of going with a USB solution. Still though, Zotac got a lot closer to my ideal desktop computer.HollyDOL - Friday, July 31, 2015 - link
With your target resolution I think you could consider running with a form of CPU integrated graphics. 1Mpx is pretty low resolution these days, almost everything can handle that decently (not saying perfect, but if you were after perfect you'd be on 2+Mpx resolutions anyway).BrokenCrayons - Friday, July 31, 2015 - link
Yes, I agree that processor graphics are probably good enough in the majority of cases at that resolution. The only reason why I'd opt for adding a dedicated GPU is for an acknowledgement of some near future when whatever CPU is in the system wouldn't be quite enough to play things at that resolution with most settings turned up to their maximums otherwise.On a side note, I did play around with NewEgg a little and came up with an idealized $1500 build for myself:
DIYPC MA01-G Black SPCC MicroATX Mini Tower Computer Case - $27.99
Antec VP-450 450W ATX 12V v2.3 Power Supply - Intel Haswell Fully Compatible - $39.99
ASUS H81M-K LGA 1150 Intel H81 SATA 6Gb/s USB 3.0 Micro ATX Intel Motherboard - $54.99
Intel Core i3-4130 Haswell Dual-Core 3.4GHz LGA 1150 54W BX80646I34130 Desktop Processor Intel HD Graphics 4400 - $116.99
Mushkin Enhanced Stealth 16GB (2 x 8GB) 240-Pin DDR3 SDRAM DDR3 1600 (PC3 12800) Desktop Memory Model 997069S - $86.99
MSI N740-2GD5 GeForce GT 740 2GB 128-Bit GDDR5 PCI Express 3.0 HDCP Ready Video Card - $98.99
SAMSUNG 850 EVO MZ-75E2T0B/AM 2.5" 2 TB SATA III 3-D Vertical Internal Solid State Drive (SSD) - $799.99
LG Internal 24x Super Multi with M-DISC Support SATA Model GH24NSC0B - OEM - $19.99
Microsoft Windows 10 Pro - Full Version (32 & 64-bit) / USB Flash Drive - $199.99
Total - $1,445.91
It's a lot "better" for my wants from a desktop, though I really could have dumped the 2TB SSD in favor of a 2TB hard drive. In my personal experience, the benefits of increased storage performance don't outweigh the $640 price difference between the two.
khanikun - Friday, July 31, 2015 - link
For drive mounting, like in the Accelerator build, I use an 90 degree bend SATA cable. I plug the 90 Degree bend into the ssd, then I mount the drive backwards. This helps hide the extra slack of the cable.alaricljs - Friday, July 31, 2015 - link
My main is already very similar to the Corsair build as it has a 256G ssd. My games storage is an iSCSI LUN off my server in the basement. At this point in pricing I'm torn between 1 local SSD or a set in RAID to feed the 4 gaming systems in the house.