ASUS X99-A Motherboard Review
by Ian Cutress on December 22, 2014 2:00 PM EST- Posted in
- Motherboards
- Intel
- Asus
- Haswell-E
- LGA2011-3
The BIOS and software for the X99-A is near identical to that of the X99-Deluxe, which reviewed back at the launch of the X99 platform. Our analysis is provided here for completeness with a few minor changes for how the X99-A differs.
ASUS X99-A BIOS
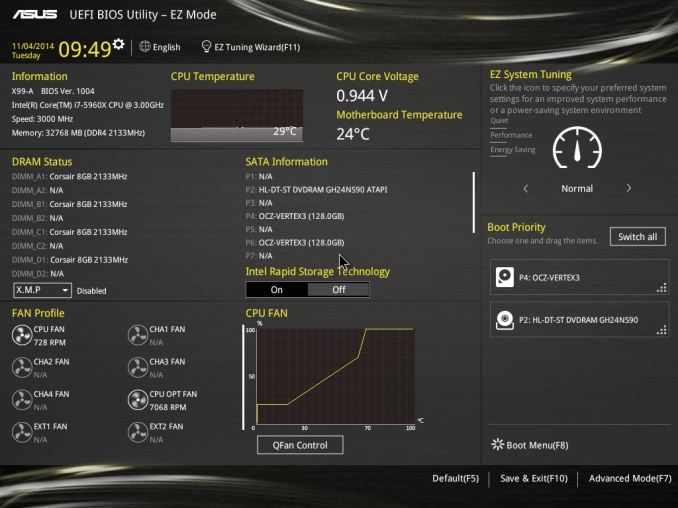
The ASUS BIOS for X99 is going to closely mimic that for Z97, given the close proximity of the launch of the two. The main difference will be catering for the X99 specific features, such as eight DIMMs and the dual AHCI controllers in the chipset. While I would assume that very few users are upgrading from Z97 to X99, those that coming from the 9-series or 8-series motherboards should feel at home. Users coming from the latest X79 builds will notice a slight change towards something more user friendly. First screen up is the EZ mode:
Due to the increased info placed in this first screen, the font size has been reduced slightly, especially when detailing all the DRAM and SATA slots ports that are connected. In this front screen we are told the name of the motherboard, the CPU used, the speed of the CPU, where the DRAM is populated and how much, only with the speed and options for XMP. The CPU and motherboard temperatures are here, with the CPU getting a graph in real time showing how the temperature changes. Voltages and fan speeds are here as well, with a point-to-point graph showing the fan profile of the CPU fan. On the right hand size is an EZ System Tuning icon for performance or energy saving modes as well as a Boot Priority list. On the top of the screen is an option for the EZ Tuning Wizard.
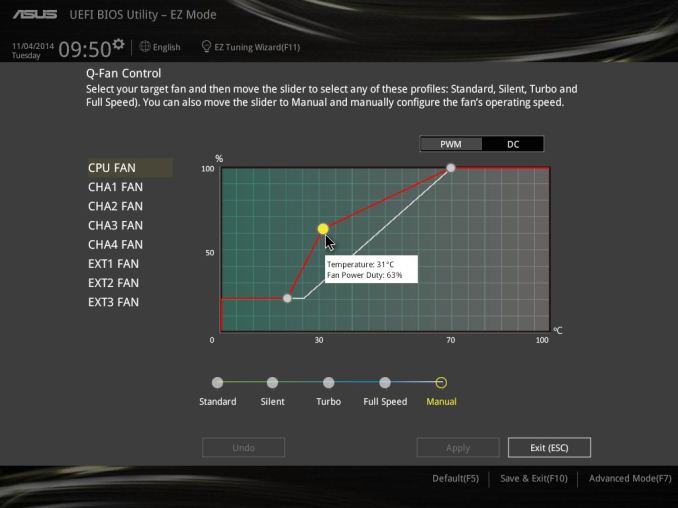
For the fan profiles, selecting QFan Control allows the user to adjust the three point fan gradient:
Each of the fan headers can be controlled by in either DC or PWM mode, with several presets at the bottom and a choice of fan headers on the right. This is the most interactive fan control system within a BIOS to date, however I would suggest a couple of add-ons: a button that sets all the fan profiles at once (otherwise you have to adjust each of them individually), and text showing the current fan speed of the fan selected along with the temperature associated with that fan. In future iterations, perhaps a button to simulate a CPU load (1 core/2 core/4 core) to manually test the fan response might also be considered.
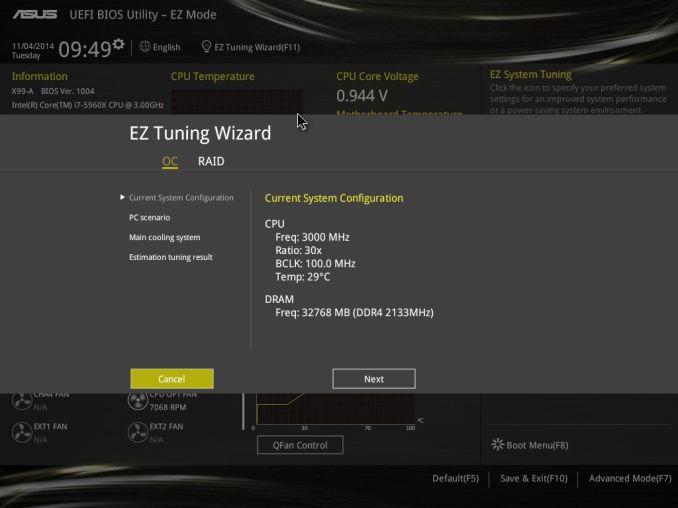
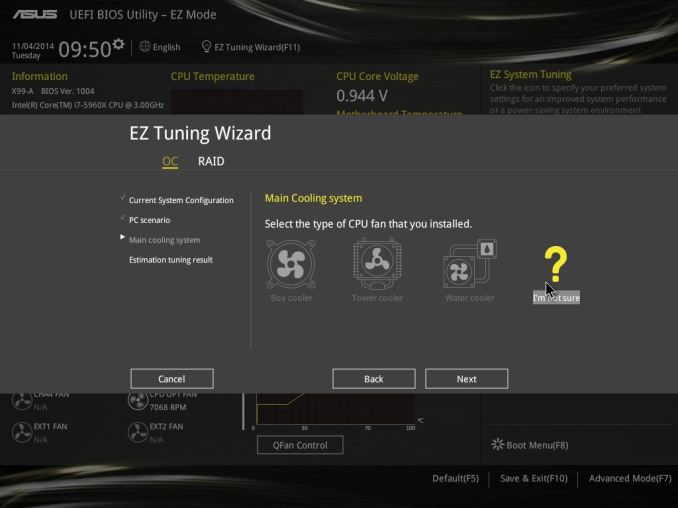
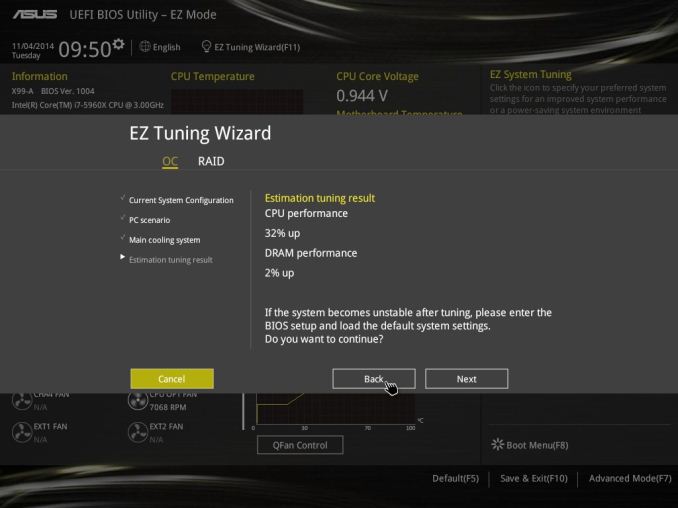
The EZ Tuning Wizard at the top is the new auto tuning mechanism in the BIOS to apply overclocks. As with Z97, this system detects the current outlay, asks what cooling is being used and what the system is for, and then goes back into its internal database to suggest an overclock. This overclock can then be applied automatically:
So here the system is suggesting a 32% overclock, from 3.0 GHz to 4.1 GHz when I selected that I had not-sure cooling. The reason why the system asks about different types of intended use should come down to single core turbo modes – users interested more in day-to-day responsiveness will want a high single-core turbo, whereas gamers and media editors will want all the cores boosted to the maximum.
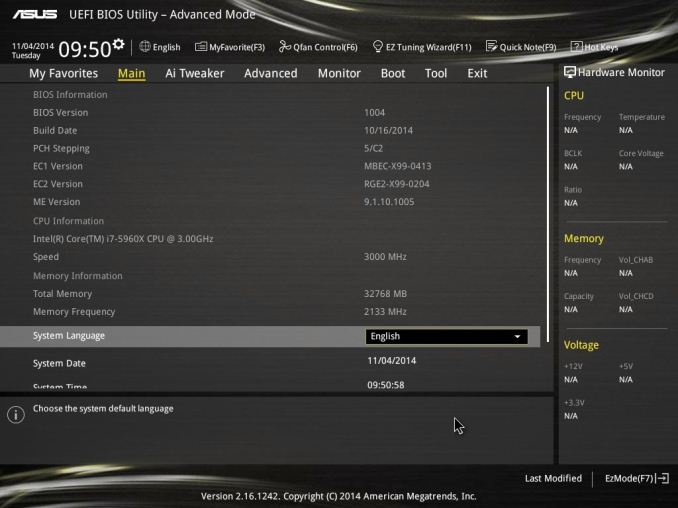
Alongside the EZ Mode, the ASUS BIOS offers its characteristic Advanced Mode:
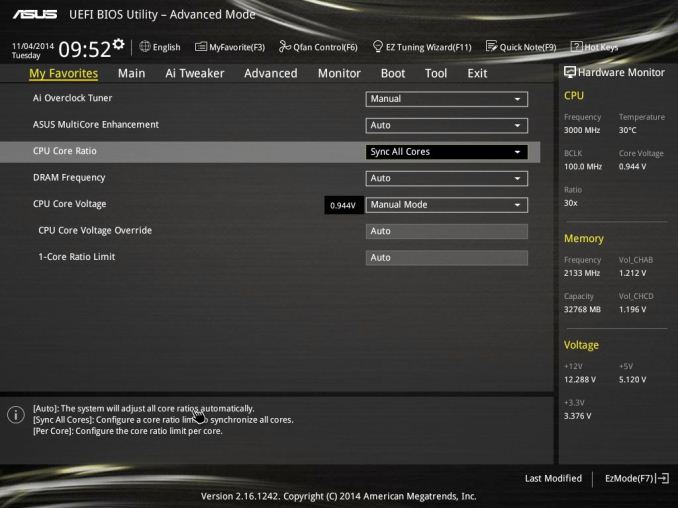
Options here are a little more in-depth and clinical, although ASUS has taken on board suggestions and added both an information section at the bottom and a list of information on the right hand side telling the user what the current state is. Users jumping into X99 from very old systems might be interested in the My Favorites menu, which allows users to select certain options from the BIOS for a custom menu interface. With the Setup Tree Map we can select which options to have in My Favorites, which in my case ends up looking like this:
My Favorites is aimed more at overclockers than anything else, allowing these enthusiasts access to frequent settings while bypassing others that are present but might not make a difference in line with the overclocking skill of the individual.
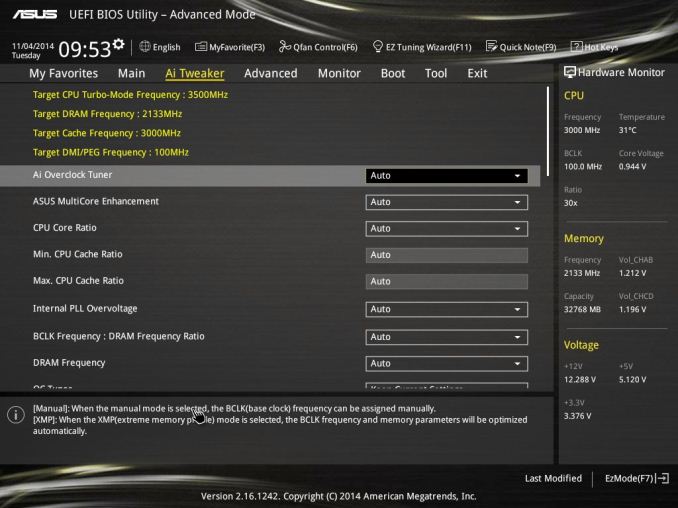
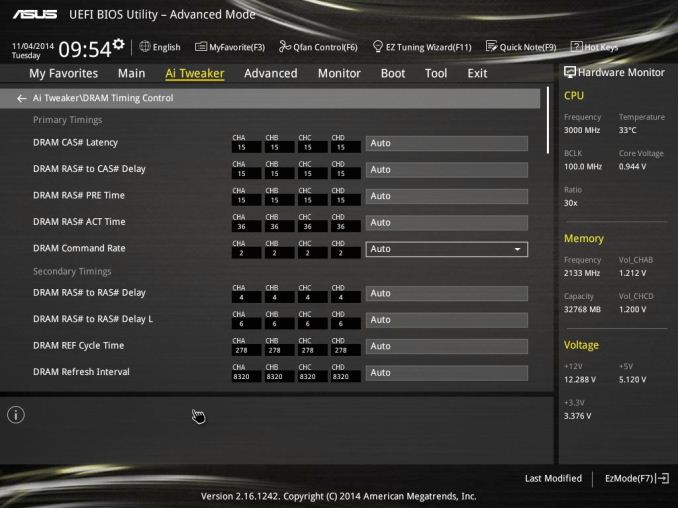
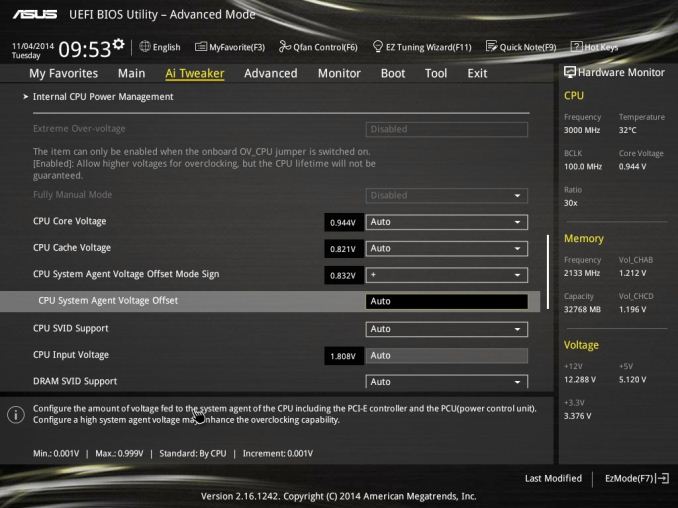
ASUS still keeps the full-fat overclocking menu on hand, giving a full set of options for CPU, DRAM, DIGI+ Power, voltages and power management.
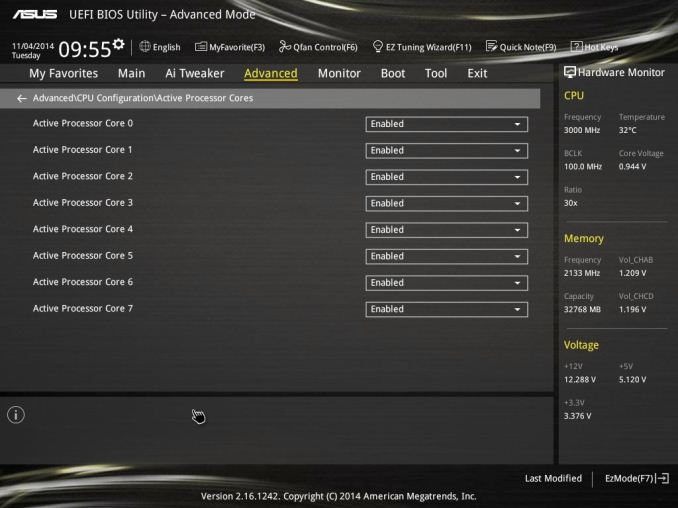
The Advanced Menu gives the usual array of CPU, PCH and Onboard Devices set of configuration menus. A few changes from previous platforms are worth mentioning, such as individual core selection for overclockers:
Because not all cores are created equal, the new topology allows users to select specific cores for frequency records.
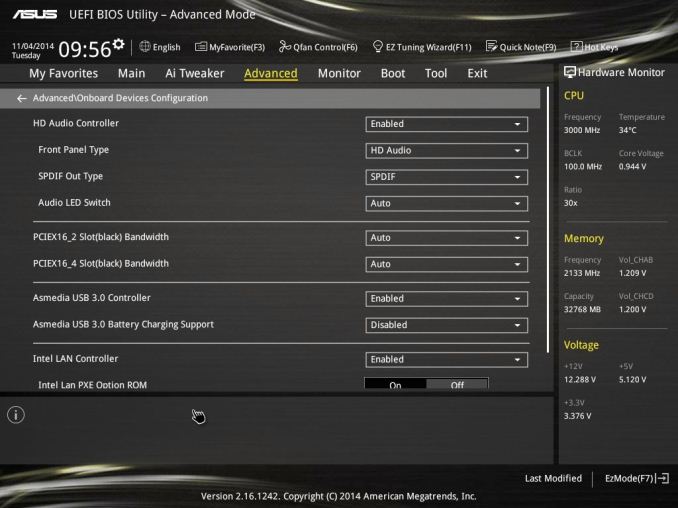
The onboard devices configuration menu gives the option for adjusting the bandwidth between the controllers onboard that share data paths:
By default the enhanced battery charging of the ASMedia USB 3.0 ports is disabled, and the PCIe 2.0 x4 slot is set to Auto mode.
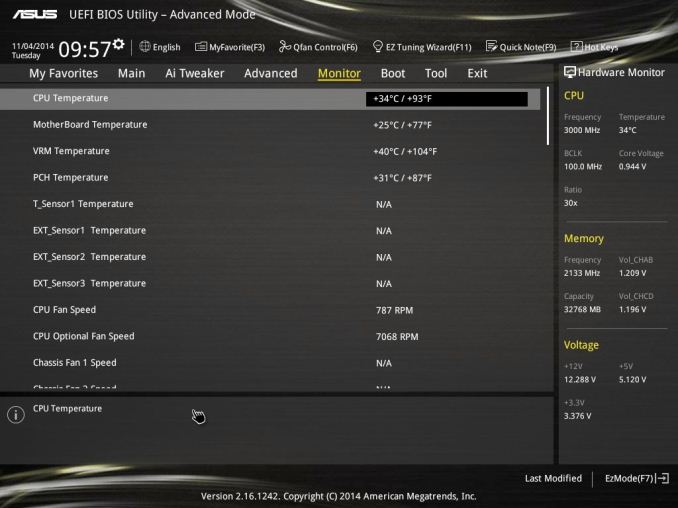
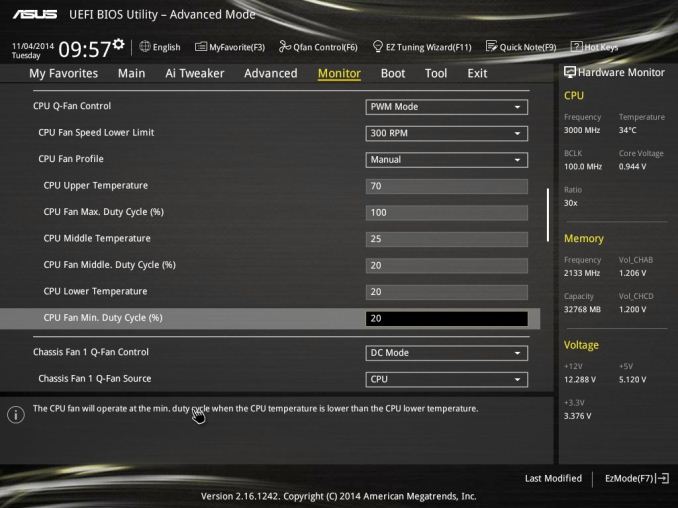
The Monitor tab gives all the temperature and fan speed data, along with options for the fan headers in a less-interactive but classic implementation:
Users can select different modes for each header (PWM or DC), different preset profiles (Standard, Silent, Turbo), adjust which temperature sensor is relevant or adjust a two point gradient manually. The QFan Tuning option provides insight into the workings of each fan by detecting the low-end dead points.
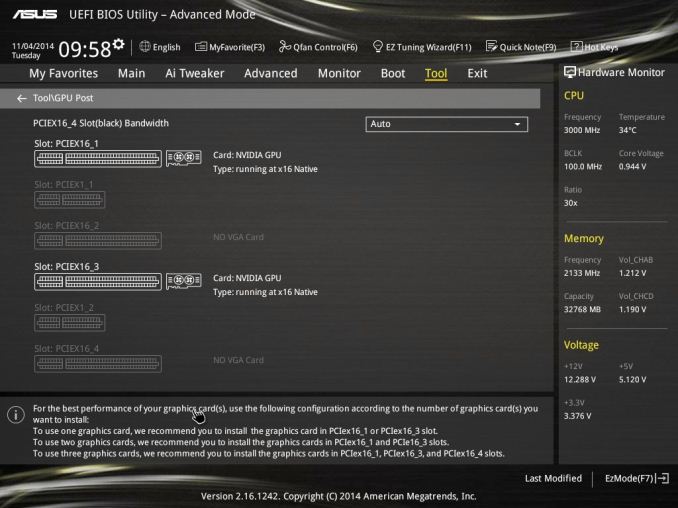
The rest of the BIOS is the standard array of booting options, fast boot options, BIOS flashing tools, OC profiles and SPD information. There is one last feature to mention, the GPU Post screen:
This shows each of the PCIe slots, what is installed and at what speed they are running.
There is one aspect where ASUS is lagging behind the other manufacturers, although GPU Post is part of the way there. ASRock and MSI now implement a ‘Board Explorer’ type function that shows a 2D representation of the motherboard and tells the user what is installed at each point. ASUS should think about this going forward, although it is worth noting that the X99-A uses 128 Mbit BIOS chips rather than the usual 64 Mbit ICs, suggesting that the BIOS is now getting bigger (and double-sized BIOS chips add cost).




37 Comments
View All Comments
Aibohphobia - Monday, December 22, 2014 - link
Could you make more clear that while all the fan headers will power a PWM fan only the CPU headers actually function in PWM mode?You can look in the manual and see that all the Chassis headers are +5V on the fourth pin (100% duty cycle) and is using only voltage on the second pin for speed control. Of the Asus X99 boards only the Extreme has PWM control on all headers.
GeorgeH - Monday, December 22, 2014 - link
Asus is bragging about the "OC Socket" in their X99 motherboards, but so far it seems like snake oil. Any further comment beyond what was in the Deluxe review?Rajinder Gill - Monday, December 22, 2014 - link
The manual needs updating. Full PWM and DC control is offered on all CPU and chassis fan headers on the ASUS X99 series.-Raja
Aibohphobia - Monday, December 22, 2014 - link
I know both PWM and DC fans can be controlled, but is there an actual PWM signal on the 4th pin?The ROG Z97 boards were supposed to be full PWM control too but the Maximus VII Impact manual was updated in October and it still shows +5V on the 4th pin for the chassis headers as well.
vred - Monday, December 22, 2014 - link
Z97-WS can control PWM-fans using PWM signal, since I connect multiple fans to the same chassis header via the splitter which takes power from a Molex plug, and PWM signal from the motherboard, and RPM control works. I would assume X99 motherboards have the same functionality. Must be an error in the user manual.Rajinder Gill - Tuesday, December 23, 2014 - link
There is full pwm and dc mode on the headers - user selectable(it is a pwm signal on the pin when pwm mode is set for the header). The manual is wrong and needs correcting.Aibohphobia - Tuesday, December 23, 2014 - link
Awesome, that's great to hear. I got both a EVGA and Gigabyte X99 board recently and I was disappointed to find both had only PWM on the CPU header. I'll look forward to possibly switching back to Asus in the future.Grayfenix - Friday, January 9, 2015 - link
That is incorrect. All fan headers are capable of pwm. Switching back and forth in bios now.DanNeely - Monday, December 22, 2014 - link
What's with the Gigabyte board's horrible score in the 2nd Rightmark Audio test? There're a pair of **'s on the graphic implying a footnote explanation; but I can't find one.HollyDOL - Tuesday, December 23, 2014 - link
I would be interested in that too... it though seems like malfunctioned product judging by values presented.It would be also nice to see comparison with dedicated sound cards both synthetically and on ear test. I have yet to hear an integrated audio that doesn't sound terrible if you try to play it on a higher range amplifier (Hi-Fi/audiophile) and speakers (with appropriate cables). But that can hardly be evaluated objectively, we all hear a bit different.